Tips for End-of-Lease Cleaning: Getting Your Deposit Back!
Hey there, soon-to-be-ex-tenant! As your lease comes to an end, one of the most crucial tasks on your to-do list is the end-of-lease cleaning. You want to leave the place looking spotless, so you can get your full security deposit back. But fear not! In this guide, we’ll walk you through some practical tips for end-of-lease cleaning that will make the process a breeze. Let’s dive in!
1. Start with a Checklist
Before you break out the cleaning supplies, it’s essential to have a checklist in hand. Create a detailed list of all the areas and items that require cleaning – from the kitchen to the bathrooms, bedrooms, and living spaces. Having a checklist will keep you organized and help ensure you don’t miss any nooks or crannies that need attention.
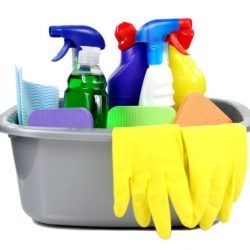
2. Gather the Right Cleaning Supplies
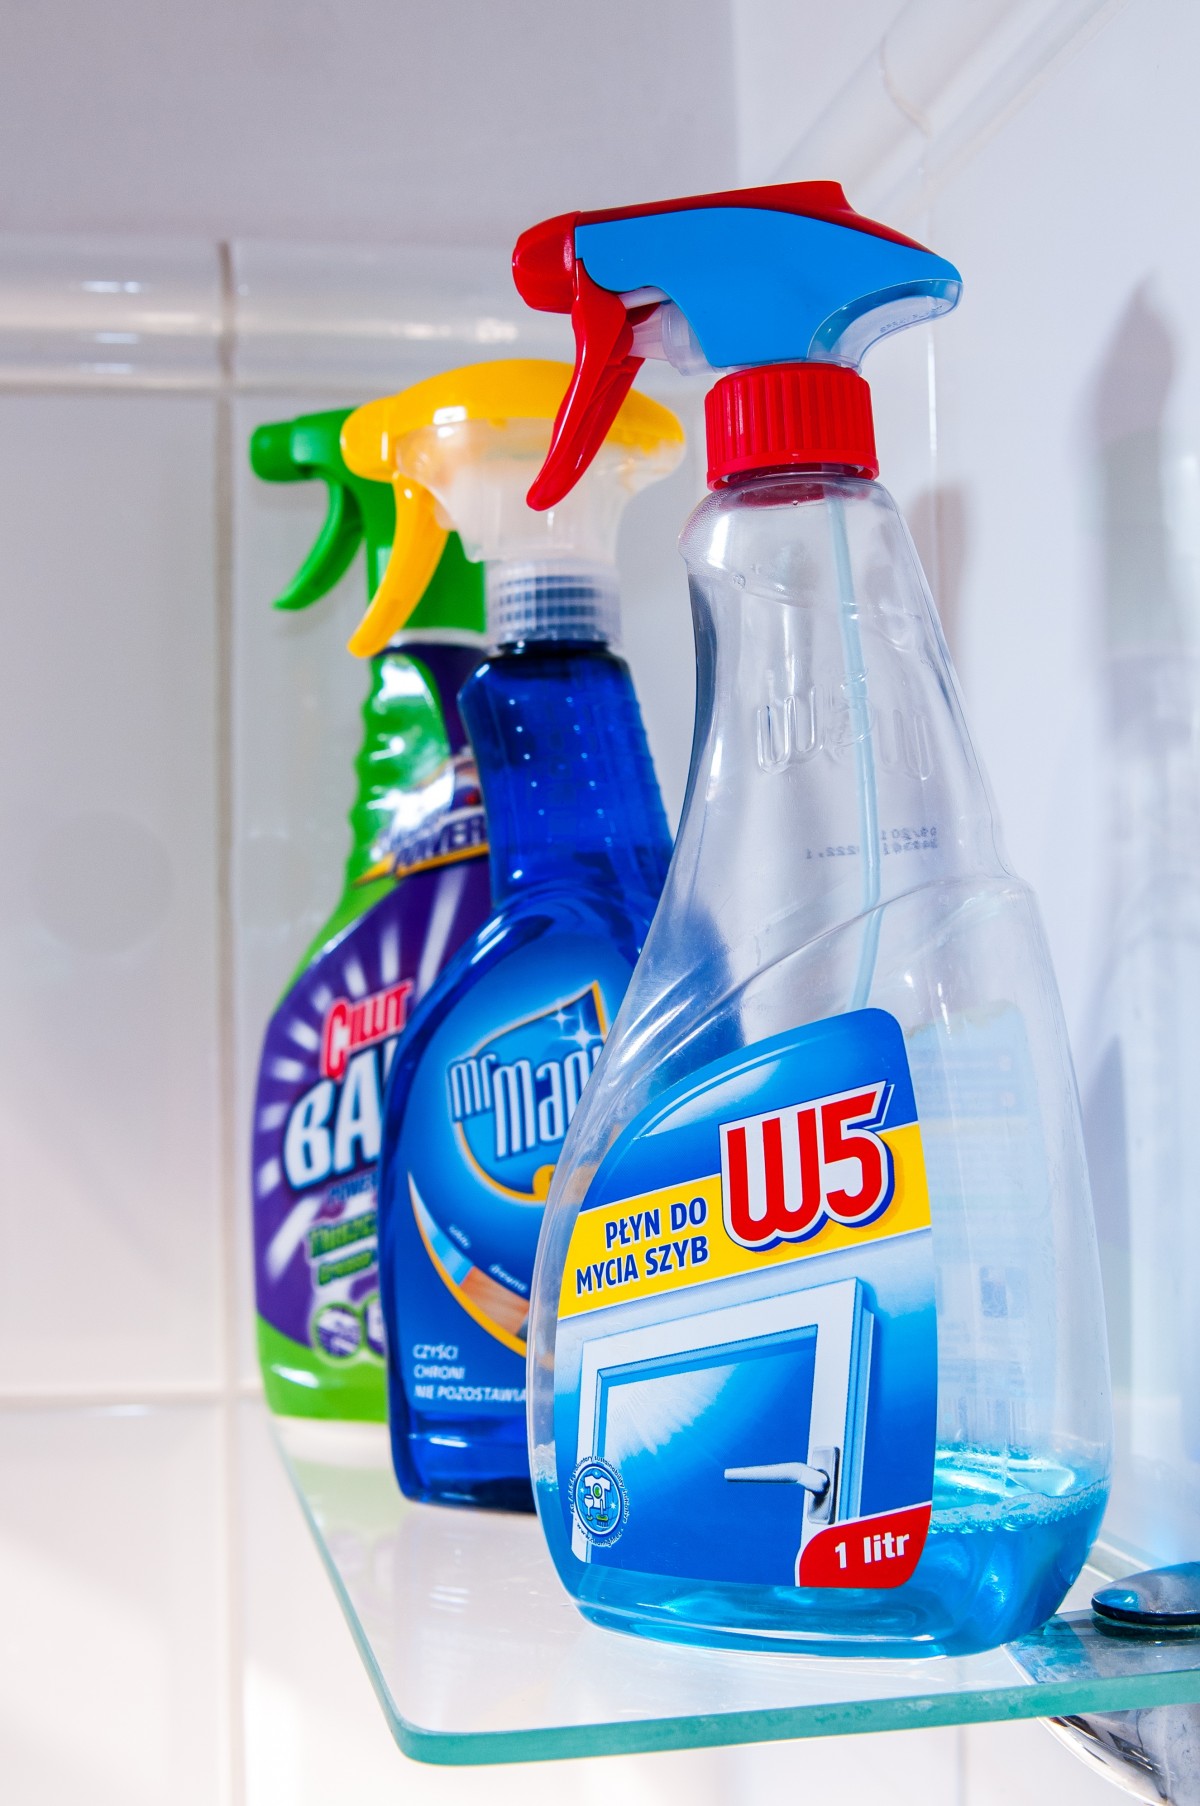
Having the right tools for the job can make a world of difference. Gather all the necessary cleaning supplies before you begin. Stock up on essentials like all-purpose cleaners, glass cleaners, disinfectants, microfiber cloths, scrub brushes, a mop, and a vacuum cleaner. Having everything ready will save you time and prevent interruptions during the cleaning process.
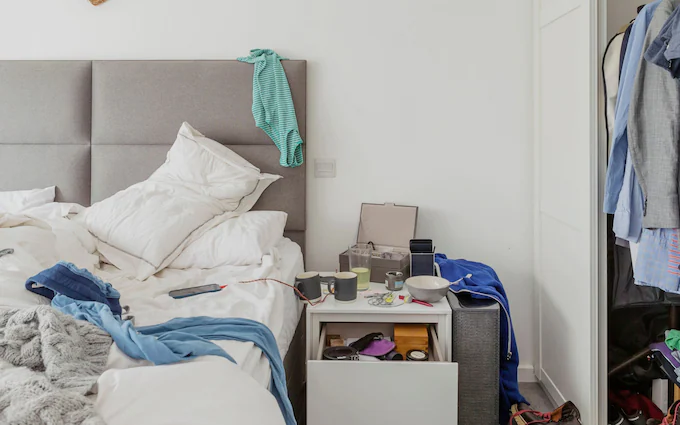
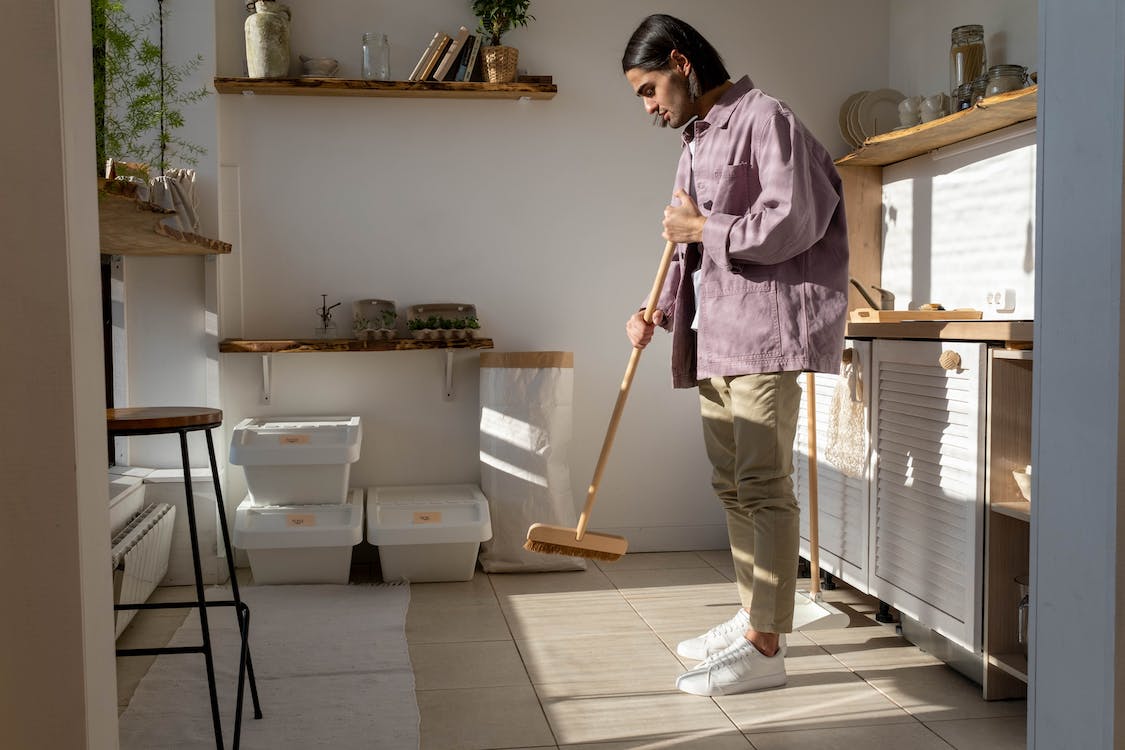
3. Tackle One Room at a Time
Cleaning the entire place might seem overwhelming, but don’t worry! Take it one room at a time. Start with the smaller rooms and work your way to the larger ones. This approach will help you maintain focus and see your progress, which can be incredibly motivating. Plus, completing one room will give you a sense of accomplishment to keep going.
4. Clean from Top to Bottom
Here’s a pro tip: always clean from top to bottom. Start by dusting ceiling corners, ceiling fans, and light fixtures. Then, work your way down to shelves, countertops, and furniture. Finally, clean the floors last. This method prevents dust and debris from settling on surfaces you’ve already cleaned and ensures a thorough job.
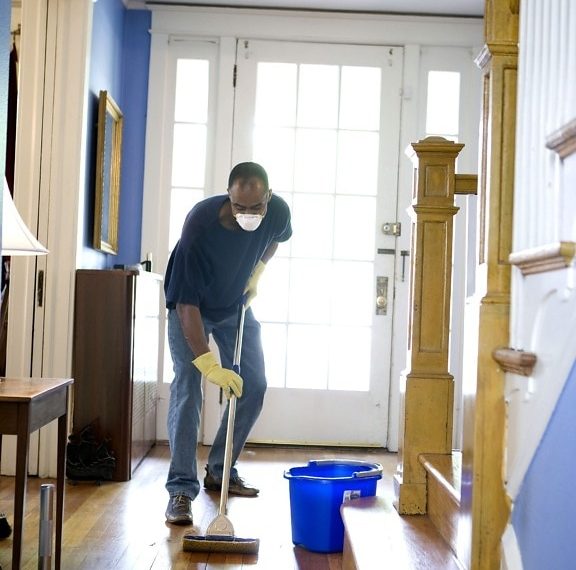
5. Pay Extra Attention to High-Traffic Areas
High-traffic areas, like entryways, hallways, and kitchen floors, tend to accumulate the most dirt and grime. Spend some extra time and effort cleaning these areas. If there are carpet stains or scuff marks on the floor, use appropriate cleaning products to address them. A little extra work here can make a big difference in the overall appearance of your place.
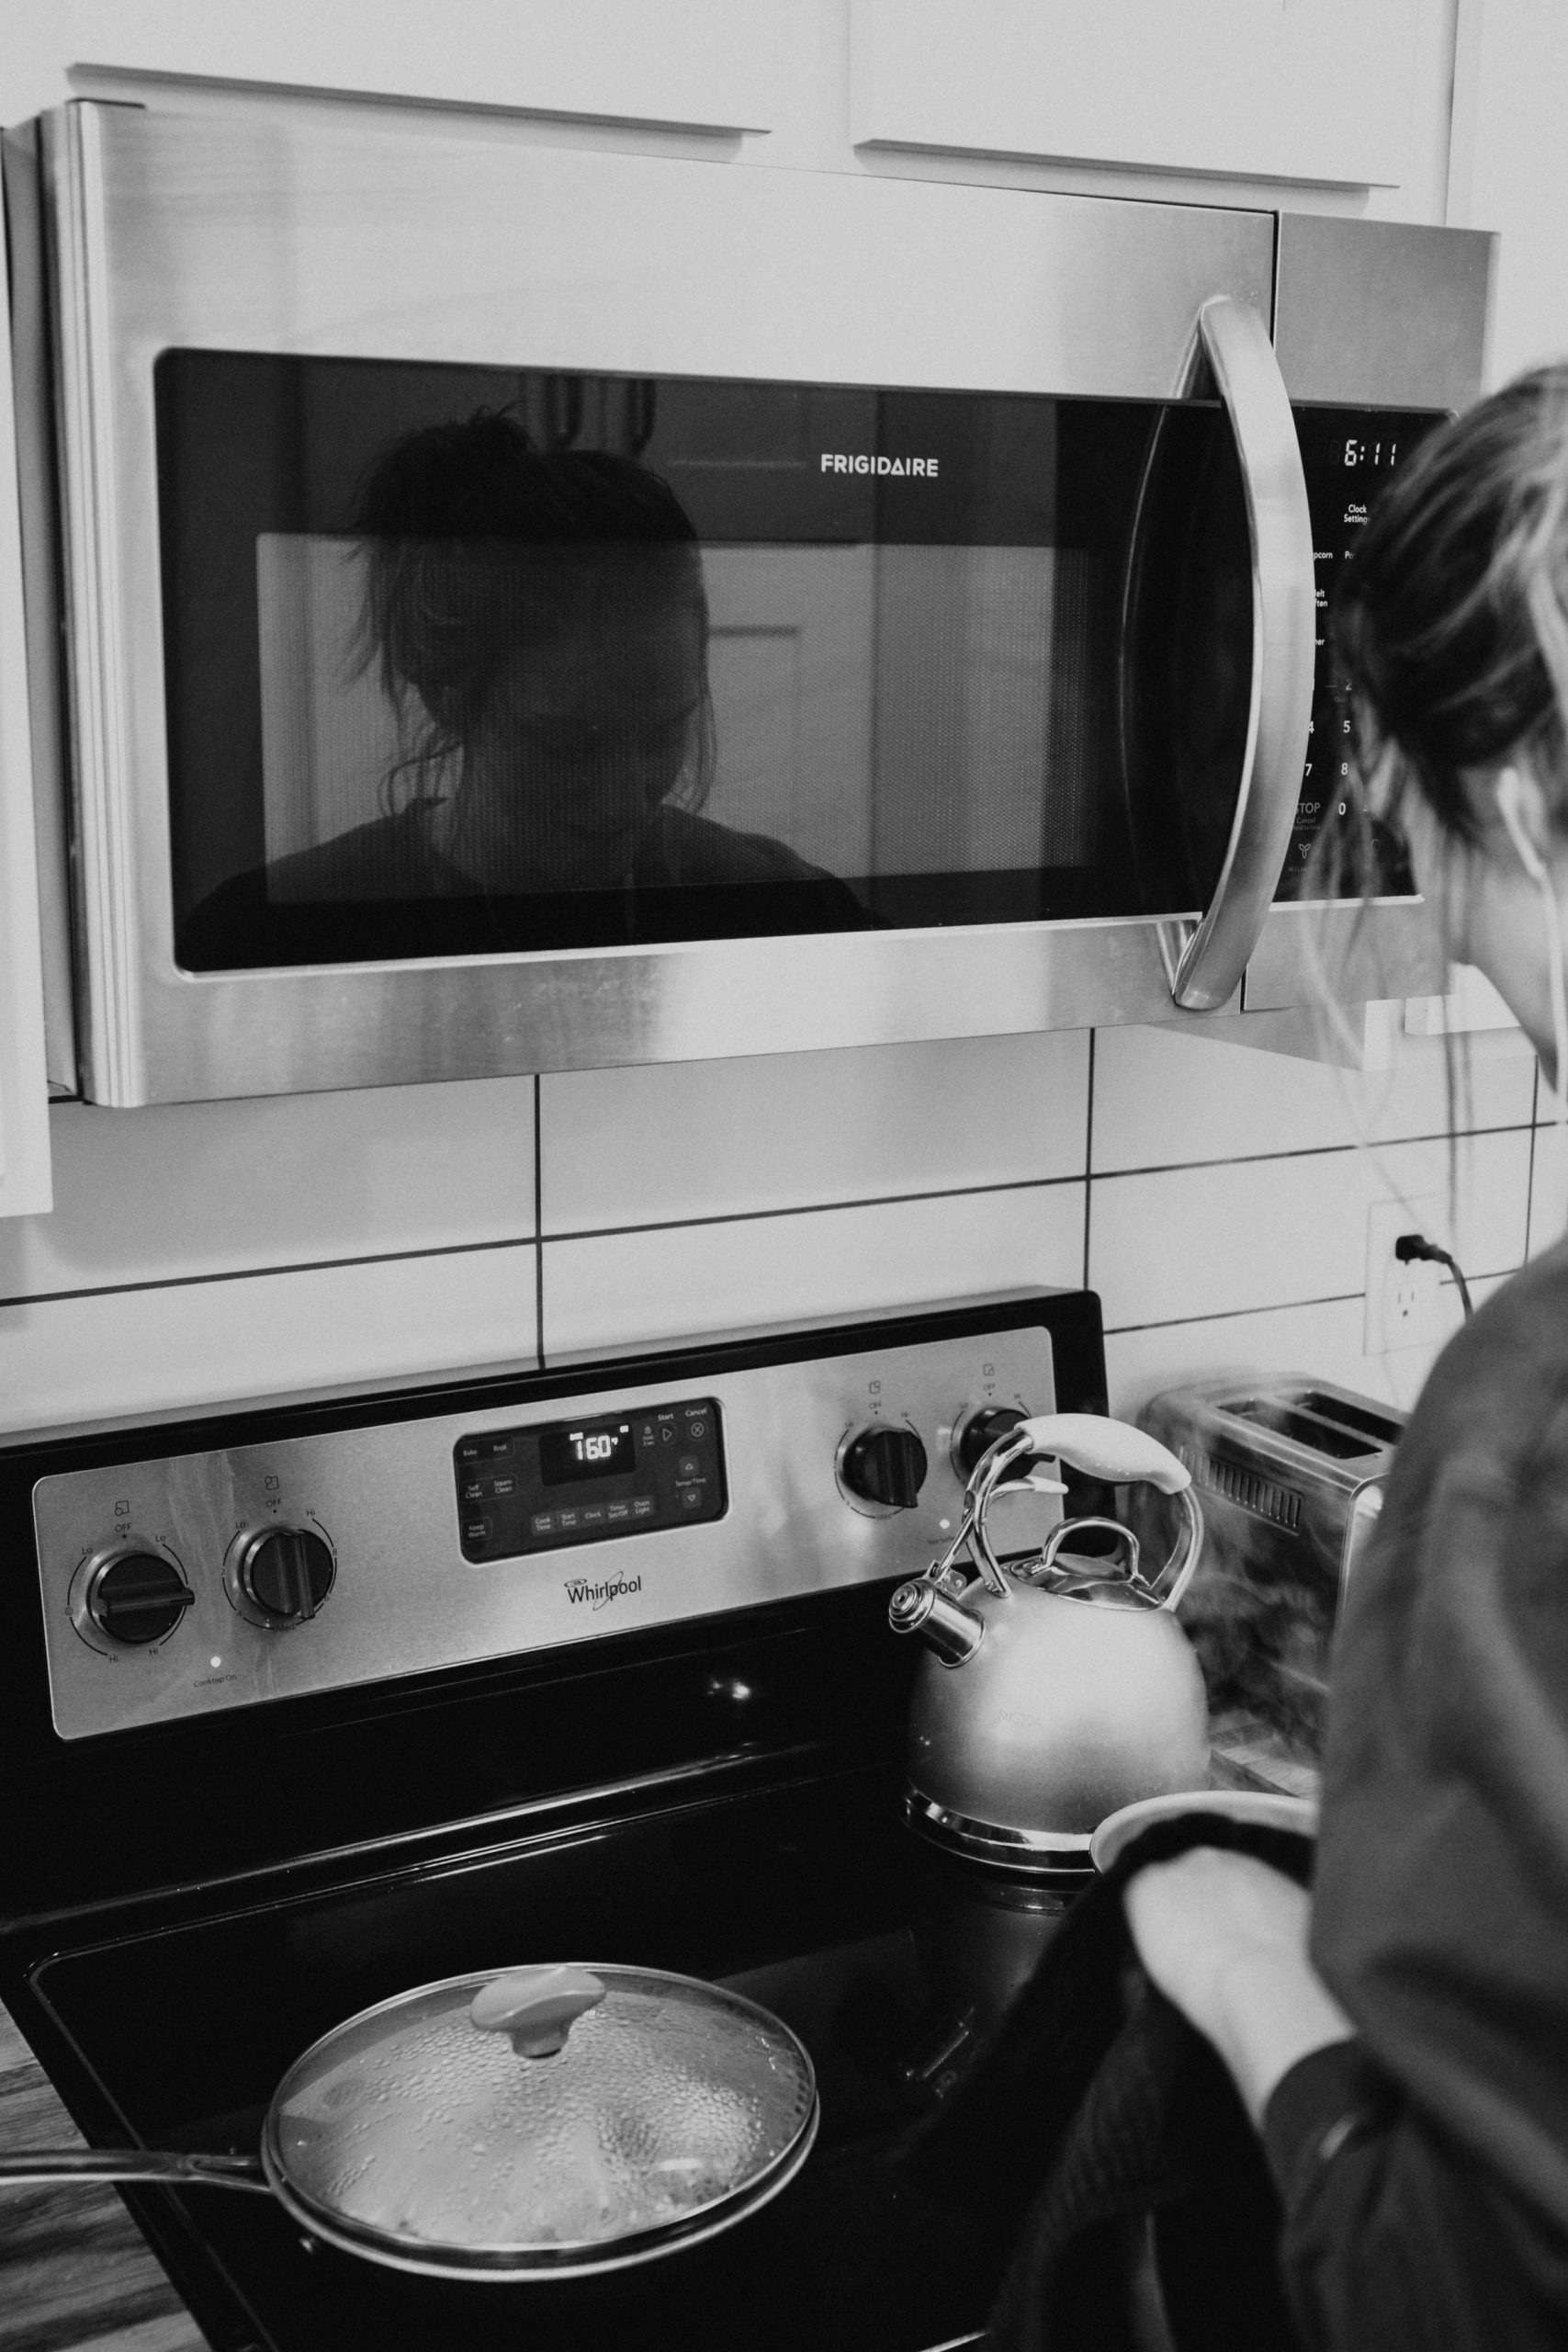
6. Don’t Forget the Appliances
If your rental includes appliances, they will need some attention too. Clean the refrigerator inside and out, removing any lingering food or spills. Wipe down the stove and oven, removing grease and grime. Don’t forget to clean the microwave, dishwasher, and any other appliances that came with the property. A clean and fresh-smelling kitchen will impress your landlord.
7. Address Wall and Surface Blemishes
Over time, walls and surfaces can acquire scuffs, nail holes, and other imperfections. Luckily, these are relatively easy to fix. Invest in some spackling paste and touch-up paint that matches the wall color. Fill in nail holes and patch up any dents or dings. Your landlord will appreciate the effort you put into making the place look pristine.
8. Clean Windows and Mirrors to Perfection
Windows and mirrors are notorious for showing smudges and fingerprints. Give them a thorough cleaning to make them shine. Use a streak-free glass cleaner and lint-free cloth to wipe down windows and mirrors. Clean windows can instantly make a space look brighter and more inviting.
9. Leave Time for Final Inspections
Once you’ve completed the end-of-lease cleaning, schedule a final inspection with your landlord or property manager. This is a chance to review the property together and address any concerns they may have. If there are any missed spots, you can touch them up during the inspection.
In conclusion, end-of-lease cleaning doesn’t have to be stressful or daunting. By following these practical tips and staying organized, you can breeze through the process and leave your rental in excellent condition. Remember to start with a checklist, gather the right cleaning supplies, tackle one room at a time, and clean from top to bottom. Pay extra attention to high-traffic areas, give the appliances some TLC, and fix any wall blemishes. Finally, make those windows and mirrors sparkle and schedule a final inspection. With these tips in your back pocket, you’ll be well on your way to getting your full security deposit back and leaving your rental on a positive note. Happy cleaning!