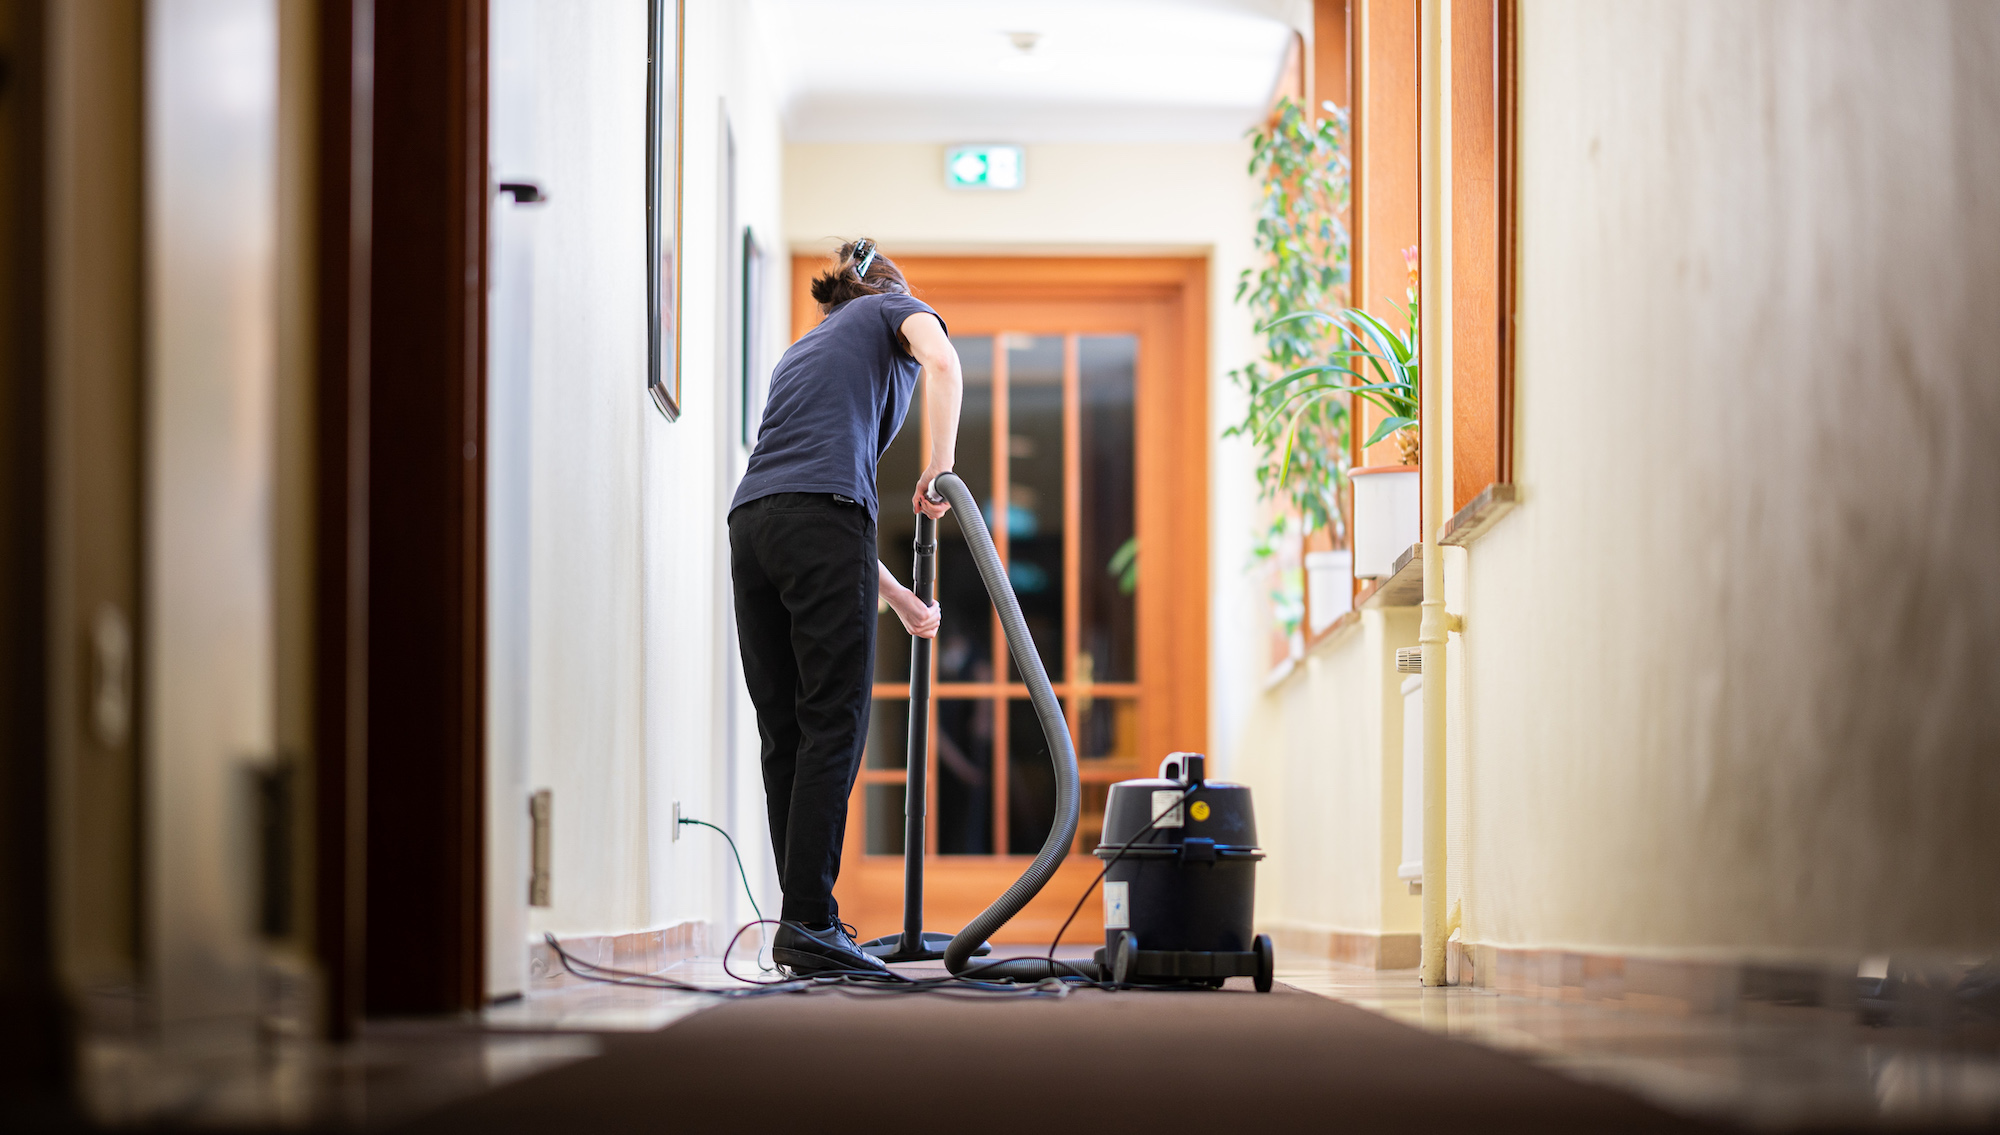
A vacuum cleaner is more valuable than what you’d think. Try not to use it for a week and tell me about the dust and dirt that has accumulated in your home.
But what happens if there is a problem with the vacuum’s motor? Or, if there’s a low suction problem?
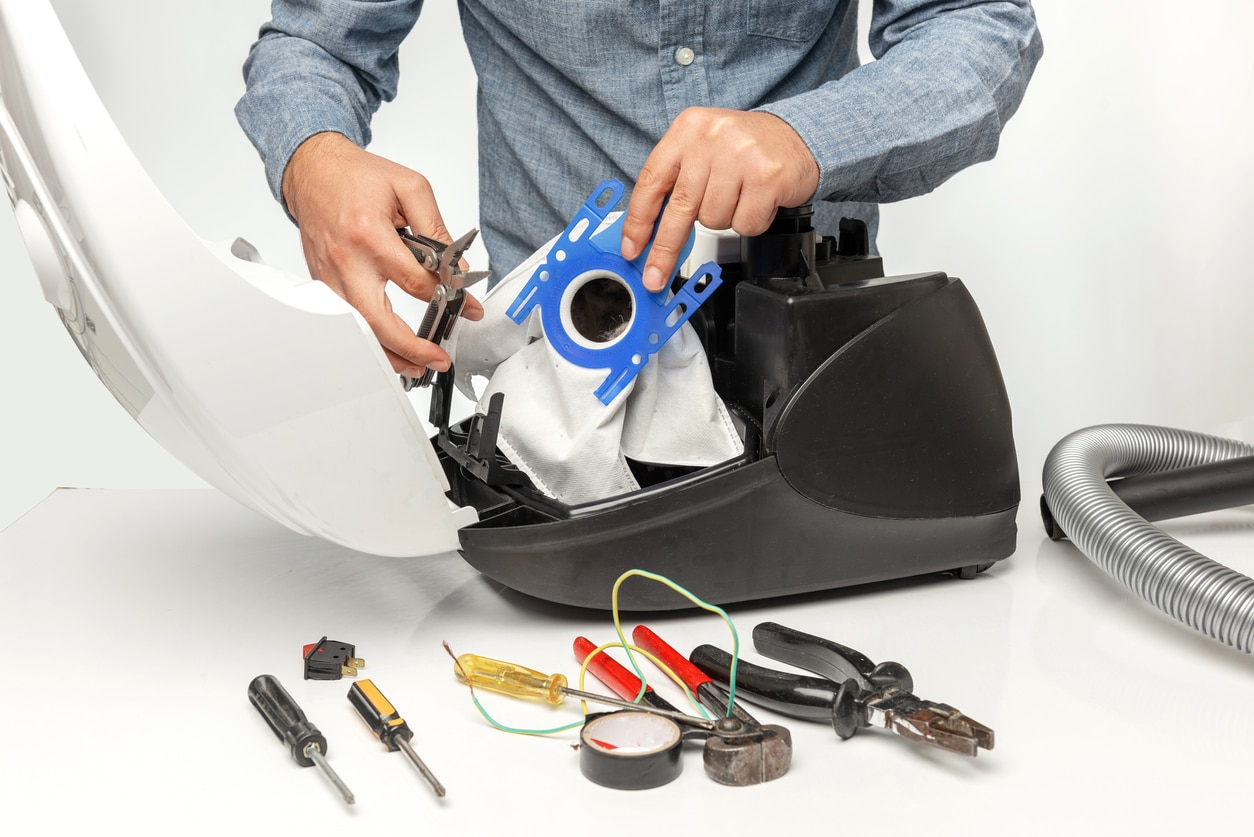
Before throwing away your old vacuum cleaner to buy a new one, I think it’ll be better if you give this article a chance.
Fixing and Repairing
#2. If The Roller Isn’t Spinning
Remove The Roller And Trim Away The Hair And Debris With Care
Turn your disconnected vacuum upside down and remove any screws or clips from the roller access plate. Typically, the roller is removed by releasing a handful of screws or clips. With scissors, cut a straight line through the hair and along the length of the roller, being careful not to cut through any of the brush bristles. Clean the roller bristles and the underbelly of the vacuum with a paintbrush before reassembling everything.
Seeing how much hair and other debris the roller collects may be eye-opening! However, if you don’t clean the roller on a regular basis, it won’t be able to take up nearly as much hair.
Throughout this process, refer to the product handbook or the manufacturer’s website.
#3. If It’s A Clogged Hose
Using Basic Tools, Dislodge Any Clogs In The Hose
Disconnect the hose entirely unless it is permanently linked to the vacuum. Pull out any obstructions near the end of the hose using pliers or your fingertips. For more severe blockages, bend a wire hanger flat or use an internet vacuum cleaner snake tool. Insert the wire/snake into the tube, twist it around, and pull the impediment out. If you can’t reach the clogs, call a vacuum repairman.
Clean out any clogs in the attachments as well.
If you can completely disconnect the hose, put a penny through it to check if there are any obstacles. If the penny falls straight through the pipe, it indicates that it is unclogged. If the tube is attached to your vacuum cleaner, don’t put a penny in it!
#4. Changing A Broken Belt
Replace The Belt That Is Attached To The Roller With A Matched One
Unplug the vacuum, flip it over, and remove the screws or clips on the roller access plate. Determine the belt that connects the roller to the motor. Remove the old belt from its two attachment points and clean them with a paintbrush or toothbrush. Purchase a matched replacement belt and put it onto the connecting points, writing facing outward. Before replacing the access plate, spin the roller by hand to test it.
To change the belt on some models, you may need to remove the roller. Always read the product instructions for your specific vacuum model.
Vacuum cleaner belts are affordable and easily available online. However, for some reason, the belts aren’t universal, so make sure you choose one that’s specifically made for your vacuum cleaner model.
#5. What To Do With A Broken Plug?
You May Fix It Yourself By Removing The Plug And Wiring In A New One
Cut the (unplugged!) power cable approximately 2–3 in (5.1–7.6 cm) away from the plug with wire cutters. Remove 1–2 in (2.5–5.1 cm) of the power cord’s covering to reveal the 2 or 3 inner wires, then use wire strippers to remove the coatings from each of these wires, exposing about 12–1 in (1.3–2.5 cm) of each wire. Unscrew the replacement plug’s cover, then wrap each color-coded wire in the power cable 2-3 times around the matching terminal in the new plug. Replace the cover on the new plug.
Additional Tips:
- If the power cable is broken around the middle, cut it out, buy two new plugs (a “male” with prongs and a “female” with slots that take the prongs), wire them as stated above, and connect them together to finish the repair.
- A white “neutral” wire and a black “hot” wire are found on all power cables. If your vacuum’s power cord has a green “ground” wire inside, connect it to the screw on your new plug’s green “ground” port. A ground wire is not always included in vacuum cleaners.
However, if the concept of undertaking DIY electrical wiring repairs makes you uneasy, choose a professional repairman instead.


1 Comment
[…] Vacuuming on a regular basis is the first step. Depending on the animal you have, you may need to perform this at least once a day. Even short-haired animals that do not shed much hair can emit odor-carrying follicles and skin. […]