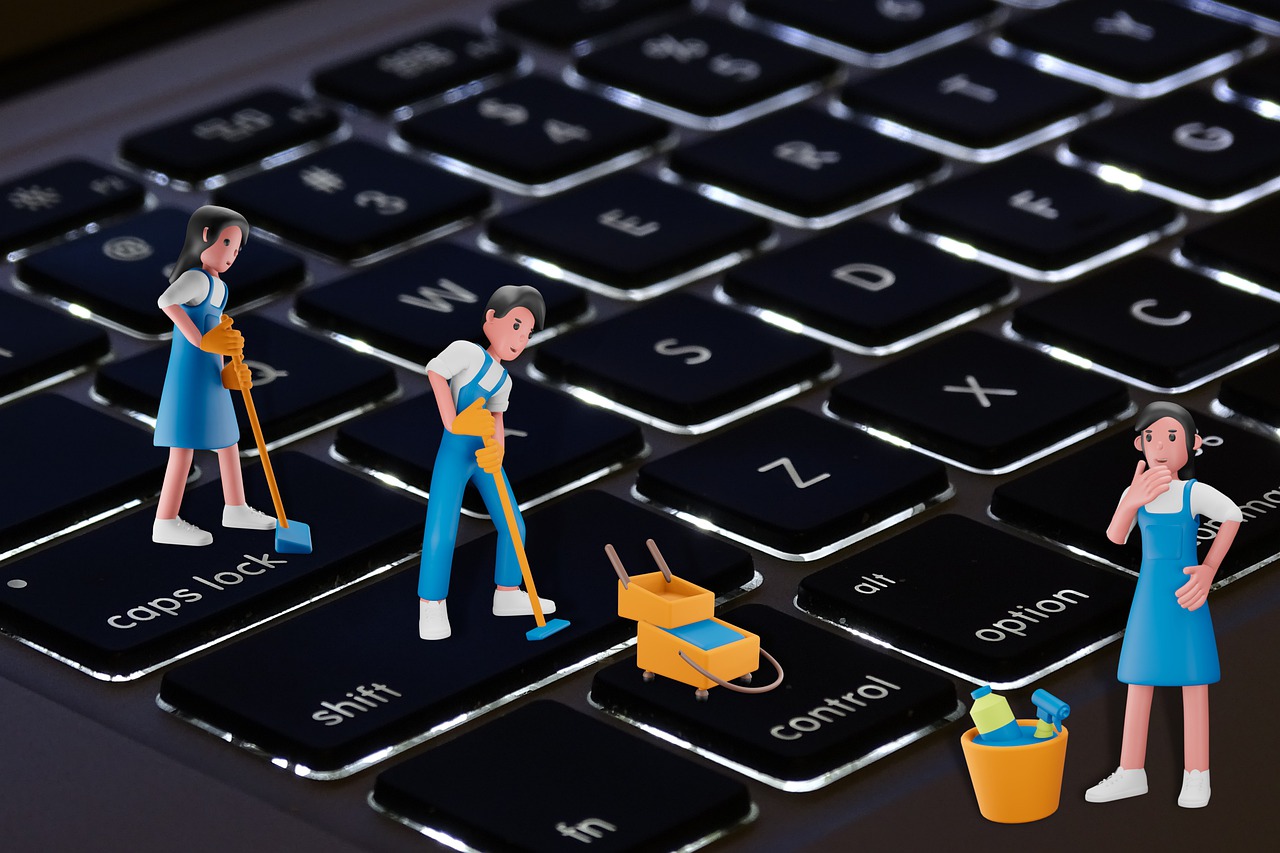
The Ultimate Guide: How to Clean Your Computer
A clean computer not only looks better but also performs better. Over time, dust, dirt, and debris can accumulate on your computer, leading to slower performance and potential hardware issues. In this comprehensive guide, we’ll walk you through the step-by-step process of cleaning your computer, from the exterior to the internal components. By following these simple cleaning techniques, you can keep your computer running smoothly and extend its lifespan.
1. Cleaning the Exterior
The first step in cleaning your computer is to tackle the exterior. Start by turning off your computer and disconnecting all cables. Use a soft, lint-free cloth lightly dampened with a mild cleaning solution to wipe down the surfaces. Pay attention to the keyboard, mouse, and monitor, gently removing any smudges or fingerprints. Avoid using harsh chemicals or excessive moisture, as they can damage the electronics. Once the exterior is clean and dry, reassemble the cables and power on your computer.
2. Cleaning the Keyboard and Mouse

The keyboard and mouse are two areas that tend to accumulate dirt and grime. To clean the keyboard, turn it upside down and gently shake to dislodge any loose debris. Use compressed air or a soft brush to remove stubborn particles between the keys. For the mouse, wipe the surface with a cloth and use a cotton swab dipped in rubbing alcohol to clean the sensor and buttons. Allow both the keyboard and mouse to dry completely before reconnecting them to your computer.
3. Dusting the Interior
Dust can accumulate inside your computer, affecting its cooling performance and potentially causing overheating. Before opening the computer case:
- Ensure it is powered off and unplugged.
- Use compressed air to blow out dust from the vents, fans, and heat sinks.
- Be cautious not to hold the can too close to the components to avoid damaging them. If you feel comfortable doing so, you can also remove the computer’s side panel and gently clean the interior with compressed air and a soft brush.
4. Cleaning the Monitor
A clean and clear monitor is essential for a pleasant computing experience. Start by turning off the monitor and disconnecting the power cable. Use a microfiber cloth lightly dampened with water or a screen cleaning solution to gently wipe the screen. Avoid using paper towels or abrasive materials, as they can scratch the surface. Wipe in a circular motion or from top to bottom, ensuring you cover the entire screen. Once done, allow the monitor to dry completely before reconnecting the power cable.
5. Organizing and Optimizing the Software
Cleaning your computer also involves organizing and optimizing its software. Uninstall any unnecessary programs and delete files or folders that are taking up valuable storage space. Use a reputable antivirus program to scan for and remove any malware or viruses. Additionally, run disk cleanup and defragmentation tools to optimize the performance of your hard drive. Regular software maintenance ensures a clutter-free and efficient computer.
A clean computer is a happy computer. By following these step-by-step cleaning techniques, you can maintain your computer’s performance and extend its lifespan. Regularly cleaning the exterior, keyboard, mouse, and monitor, as well as dusting the interior and organizing the software, will keep your computer running smoothly. Remember to perform these cleaning tasks on a regular basis to ensure optimal performance and an enjoyable computing experience. And don’t forget to bookmark our blog for more informative articles on other cleaning tasks.
Note: Before performing any cleaning procedures, consult your computer manufacturer’s guidelines and warranty information to ensure proper care and avoid voiding the warranty.


