How to Clean Your Air Fryer: A Step-by-Step Guide
Do you love using your air fryer to make delicious crispy fries, chicken nuggets, and more? Keeping your air fryer clean is important to maintain its performance and ensure tasty meals every time. In this guide, we’ll show you how to clean your air fryer easily and safely, so it can continue to serve you delicious and healthy meals for a long time.
Step 1: Cooling Down and Unplugging
Before you start cleaning your air fryer, make sure it’s cool and unplugged from the power source. This will prevent any accidents and ensure your safety. Give it some time to cool down completely before moving on to the next steps. Cleaning your air fryer when it’s still hot can be dangerous and may cause burns, so always remember to let it cool down first.
Step 2: Removing and Washing the Accessories
Most air fryers come with removable accessories like the cooking basket and tray. Take them out and carefully wash them with warm, soapy water. Use a soft sponge or cloth to remove any food residue. Pay attention to the nooks and crannies where food particles can get trapped. Rinse them well and let them air dry. It’s important to clean the accessories after every use to prevent any buildup and maintain their performance.
Step 3: Cleaning the Exterior
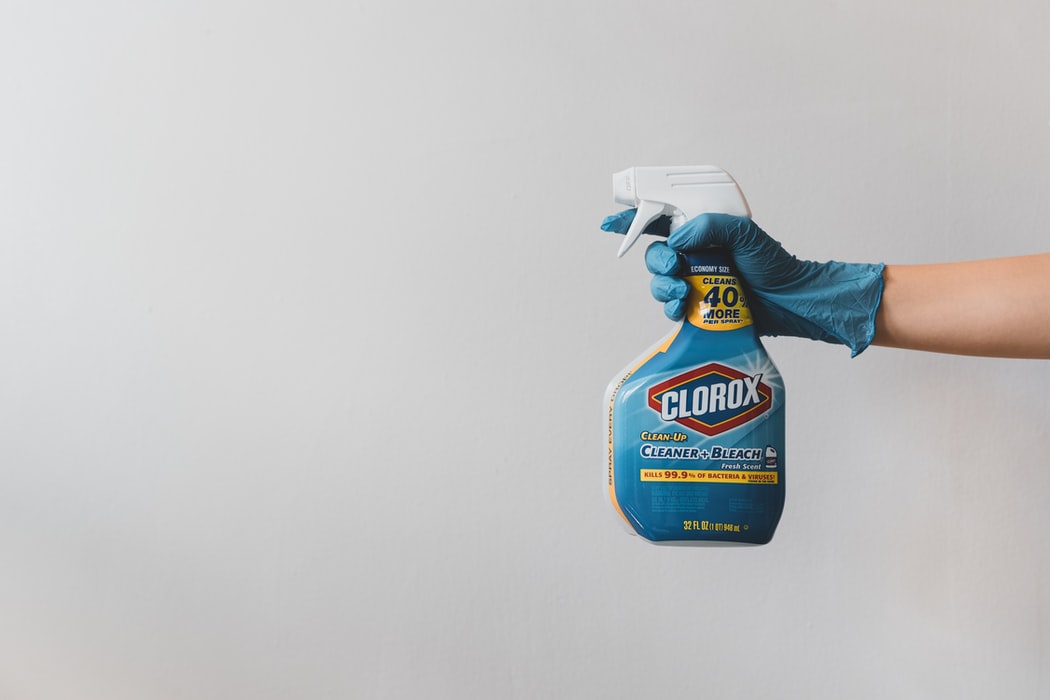
Wipe the exterior of your air fryer with a damp cloth or cleaning wipes. You can use mild dish soap to remove any grease or stains. Avoid using harsh chemicals or abrasive materials that can damage the surface. Pay special attention to the control panel and buttons, gently wiping them to keep them clean and functional. The exterior of the air fryer is what you touch most often, so it’s important to keep it clean for both hygiene and aesthetic reasons.
Step 4: Dealing with Stubborn Stains
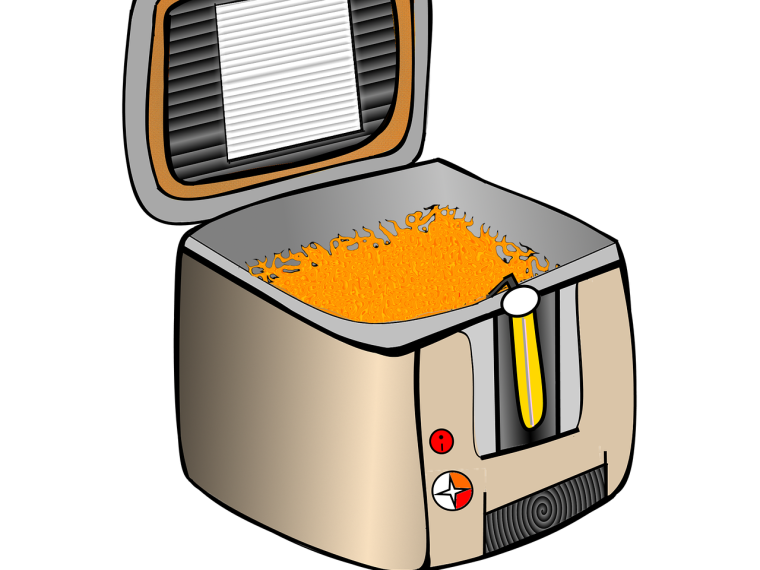
If you encounter stubborn stains or food residue inside the air fryer, it’s time for a deeper clean. Create a paste using baking soda and water. Apply the paste to the stained areas and let it sit for about 15 minutes. Then, scrub gently with a soft brush or sponge. The baking soda acts as a natural abrasive, helping to remove the tough stains. Rinse thoroughly with water and dry with a soft cloth. This method effectively removes stubborn residue and ensures your air fryer stays clean and fresh.
Step 5: Cleaning the Heating Element
The heating element is an important part of your air fryer. To clean it:
- Use a soft brush or toothbrush to remove any residue or debris.
- Be gentle to avoid damaging the element.
- Make sure the heating element is completely dry before reconnecting or using your air fryer again.
The heating element is responsible for cooking your food, so keeping it clean will ensure efficient performance and prevent any potential issues.
Step 6: Reassembling and Final Steps
Once all the components are clean and dry, it’s time to put everything back together. Carefully reassemble the accessories and place them back in the air fryer. Double-check that everything is properly in place. Now, you can plug in your air fryer and get ready for your next cooking adventure. It’s always satisfying to see your clean and shiny air fryer ready to create delicious meals.
Keeping your air fryer clean is essential for maintaining its performance and ensuring tasty meals. By following these simple steps, you can easily clean your air fryer and keep it in top shape. Remember to clean it regularly after each use, and you’ll enjoy delicious and healthy meals for a long time. With a clean air fryer, you can continue to explore new recipes and satisfy your culinary cravings.