It is important to note that a clean home is pleasant and healthy. Even if you sweep or vacuum the floors, you will eventually have to mop them. Mopping the floor prevents dirt from accumulating. For this reason, it is recommended that kitchens, dining rooms, bathrooms, living rooms, hallways, and other high-traffic areas be vacuumed daily and mopped once a week. Mopping is not rocket science, but many people do not do it the right way. So, here are some valuable tips to make this task easier.
1) Clean
Before you begin cleaning, it is essential to prepare a few things. First, it is important to clean everything. Remove as much clothing, toys, and other floor surfaces as possible. Moving furniture so the mop can reach every nook and cranny is advisable. For example, temporarily place dining chairs on top of the dining table so that there are no obstructions under the dining table when cleaning.
2) Sweep the Floor Before Mopping
This step seems logical, but many people make the mistake of starting to mop immediately without sweeping or vacuuming. This will spread dirt throughout the room. Also, the dust and dirt on the floor can scratch the floor. Therefore, this step should never be omitted.
3) Use of Cold Water
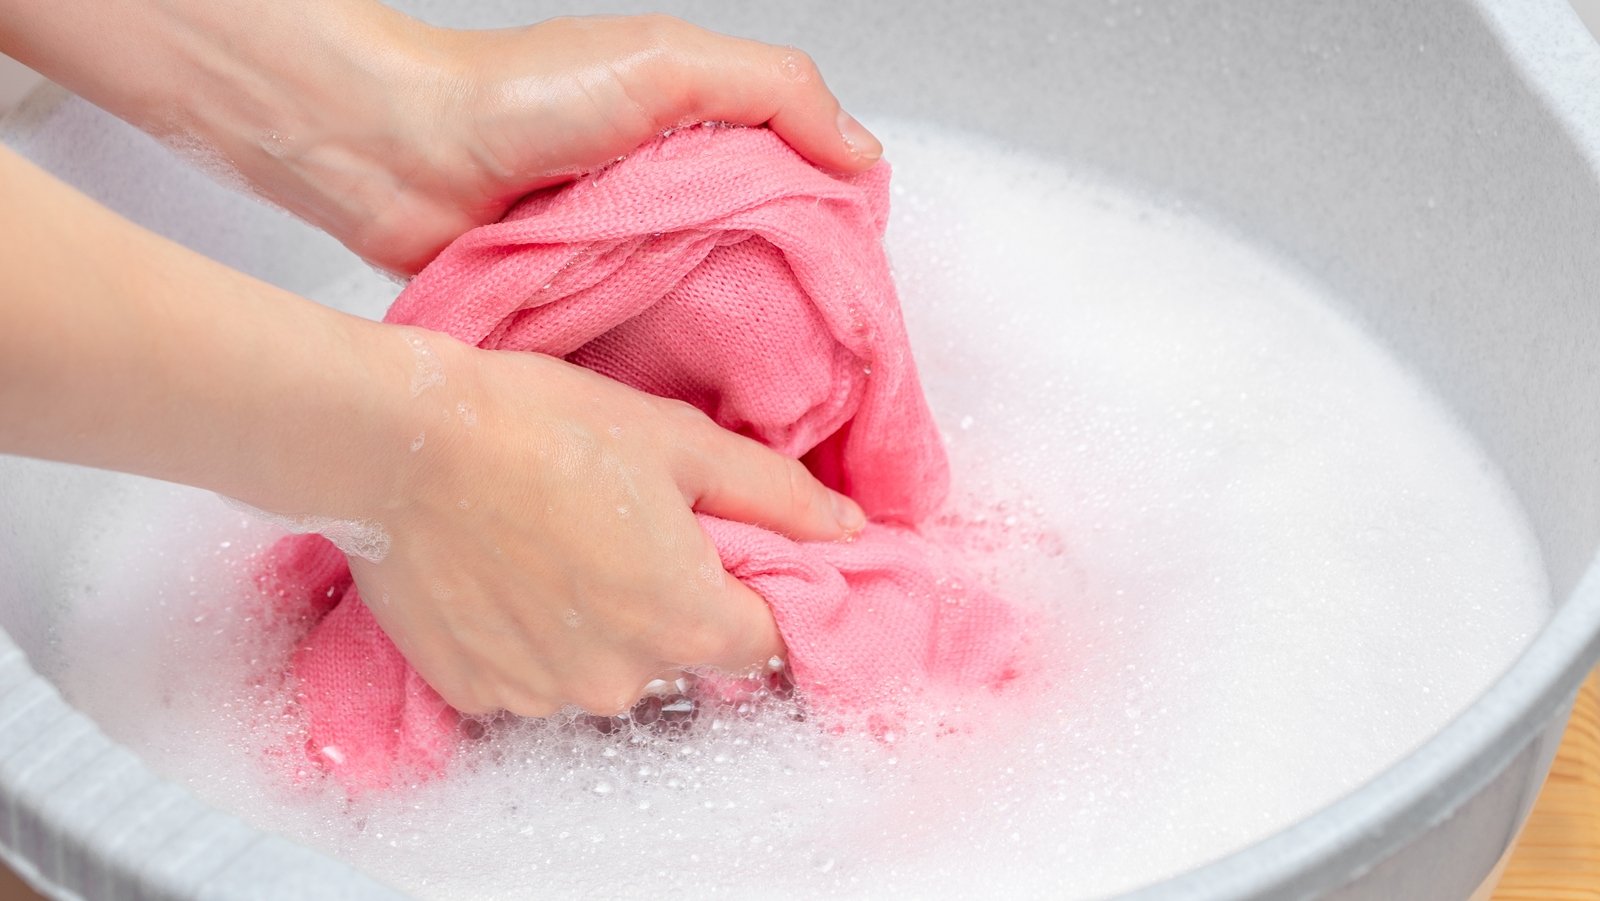
The most common mistake made in mopping is the use of hot water. Hot water evaporates quickly and leaves the soapy residue of the cleaner on the floor. This sounds harmless, but the soapy residue can cause streaks on the floor. In addition, it sticks to the floor. Therefore, always use cold water with a small amount of detergent.
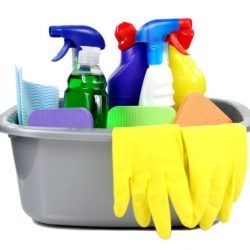
4) Correct Use of Detergent
Everyone has their own ideas on how to use mopping detergent. Everything from chlorine to bleach is used. Chlorine, for example, is used to clean the bathtub because it can disinfect but not clean. An all-purpose cleaner can be used to clean the floor. Don’t have it at home? Then a dash of soapy water or white vinegar is also a good idea.
It is also important not to use too much detergent. Detergent contains grease and using too much can leave a dull stain on the floor. Two tablespoons per bucket of water is sufficient.
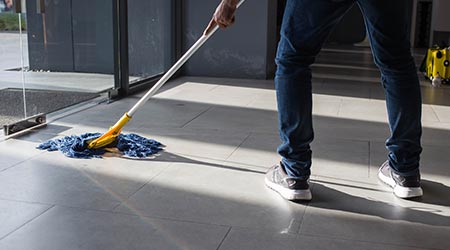
5) Partial Mopping
Smaller portions allow for more reliable cleaning. Not only is it easier to remember which areas were cleaned, but it also allows for more focused mopping. Divide the floor of a room into several sections. Start at the corners and finish one section after another. When mopping, move backward so you are always in a clean area.
If there are hard or sticky areas, quickly move back and forth over the place, applying downward pressure to remove dirt. Hard-to-reach corners and edges may require squatting and wiping the floor with a sponge or cloth.

6) Play With the Mop by Squeezing It
It is also essential to wring out the mop after each step. The mop should always be wrung out over a bucket. Then squeeze the mop over the affected area. It is also essential to rinse the mop with water to prevent the dirt from spreading to other areas. If the mop is heavily soiled, you may want to rinse the mop several times.
7) Changing the Bucket of Water
If the floor is filthy, you will find the water will change color after a while. If it is cloudy, it is time to change the water. Flush the toilet: you will see a layer of sand and dirt left in the bucket. Rinse well and fill the bucket with water and detergent. You can continue in this way until the entire floor is clean.
8) Drying
After mopping is complete, open windows and doors and allow the floor to dry. Many people make the mistake of drying the floor themselves with a mop. You only need to dry the floor by hand when you see streaks. Once the floor is completely clean and free of streaks, allow it to dry naturally.
At this point, you can begin moving furniture into place. It is also important to dry the wet mop after use. If you leave the mop in the bucket, it will stay dirty and start to smell. Remember to always dump the water in the toilet and not in the sink where you cook.
Let us know if these few tips have helped you in the comments below!