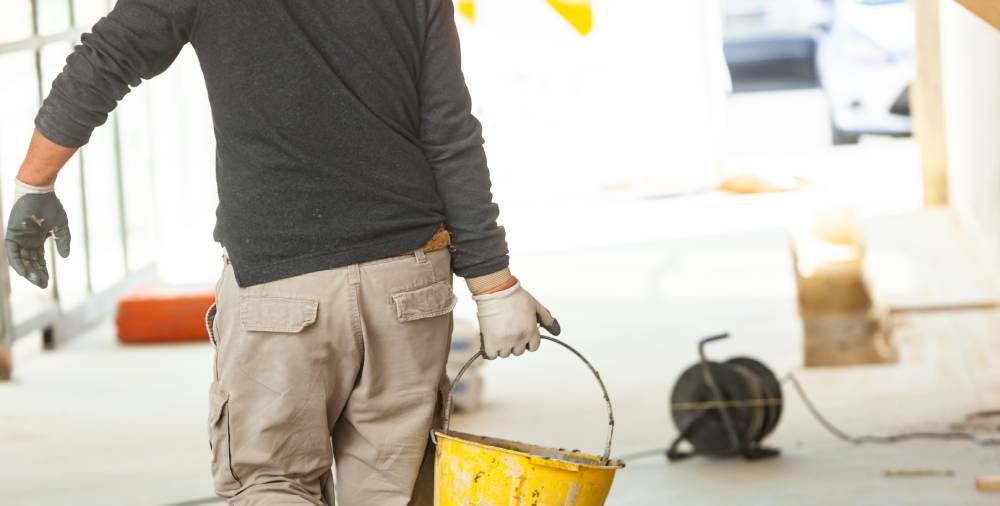
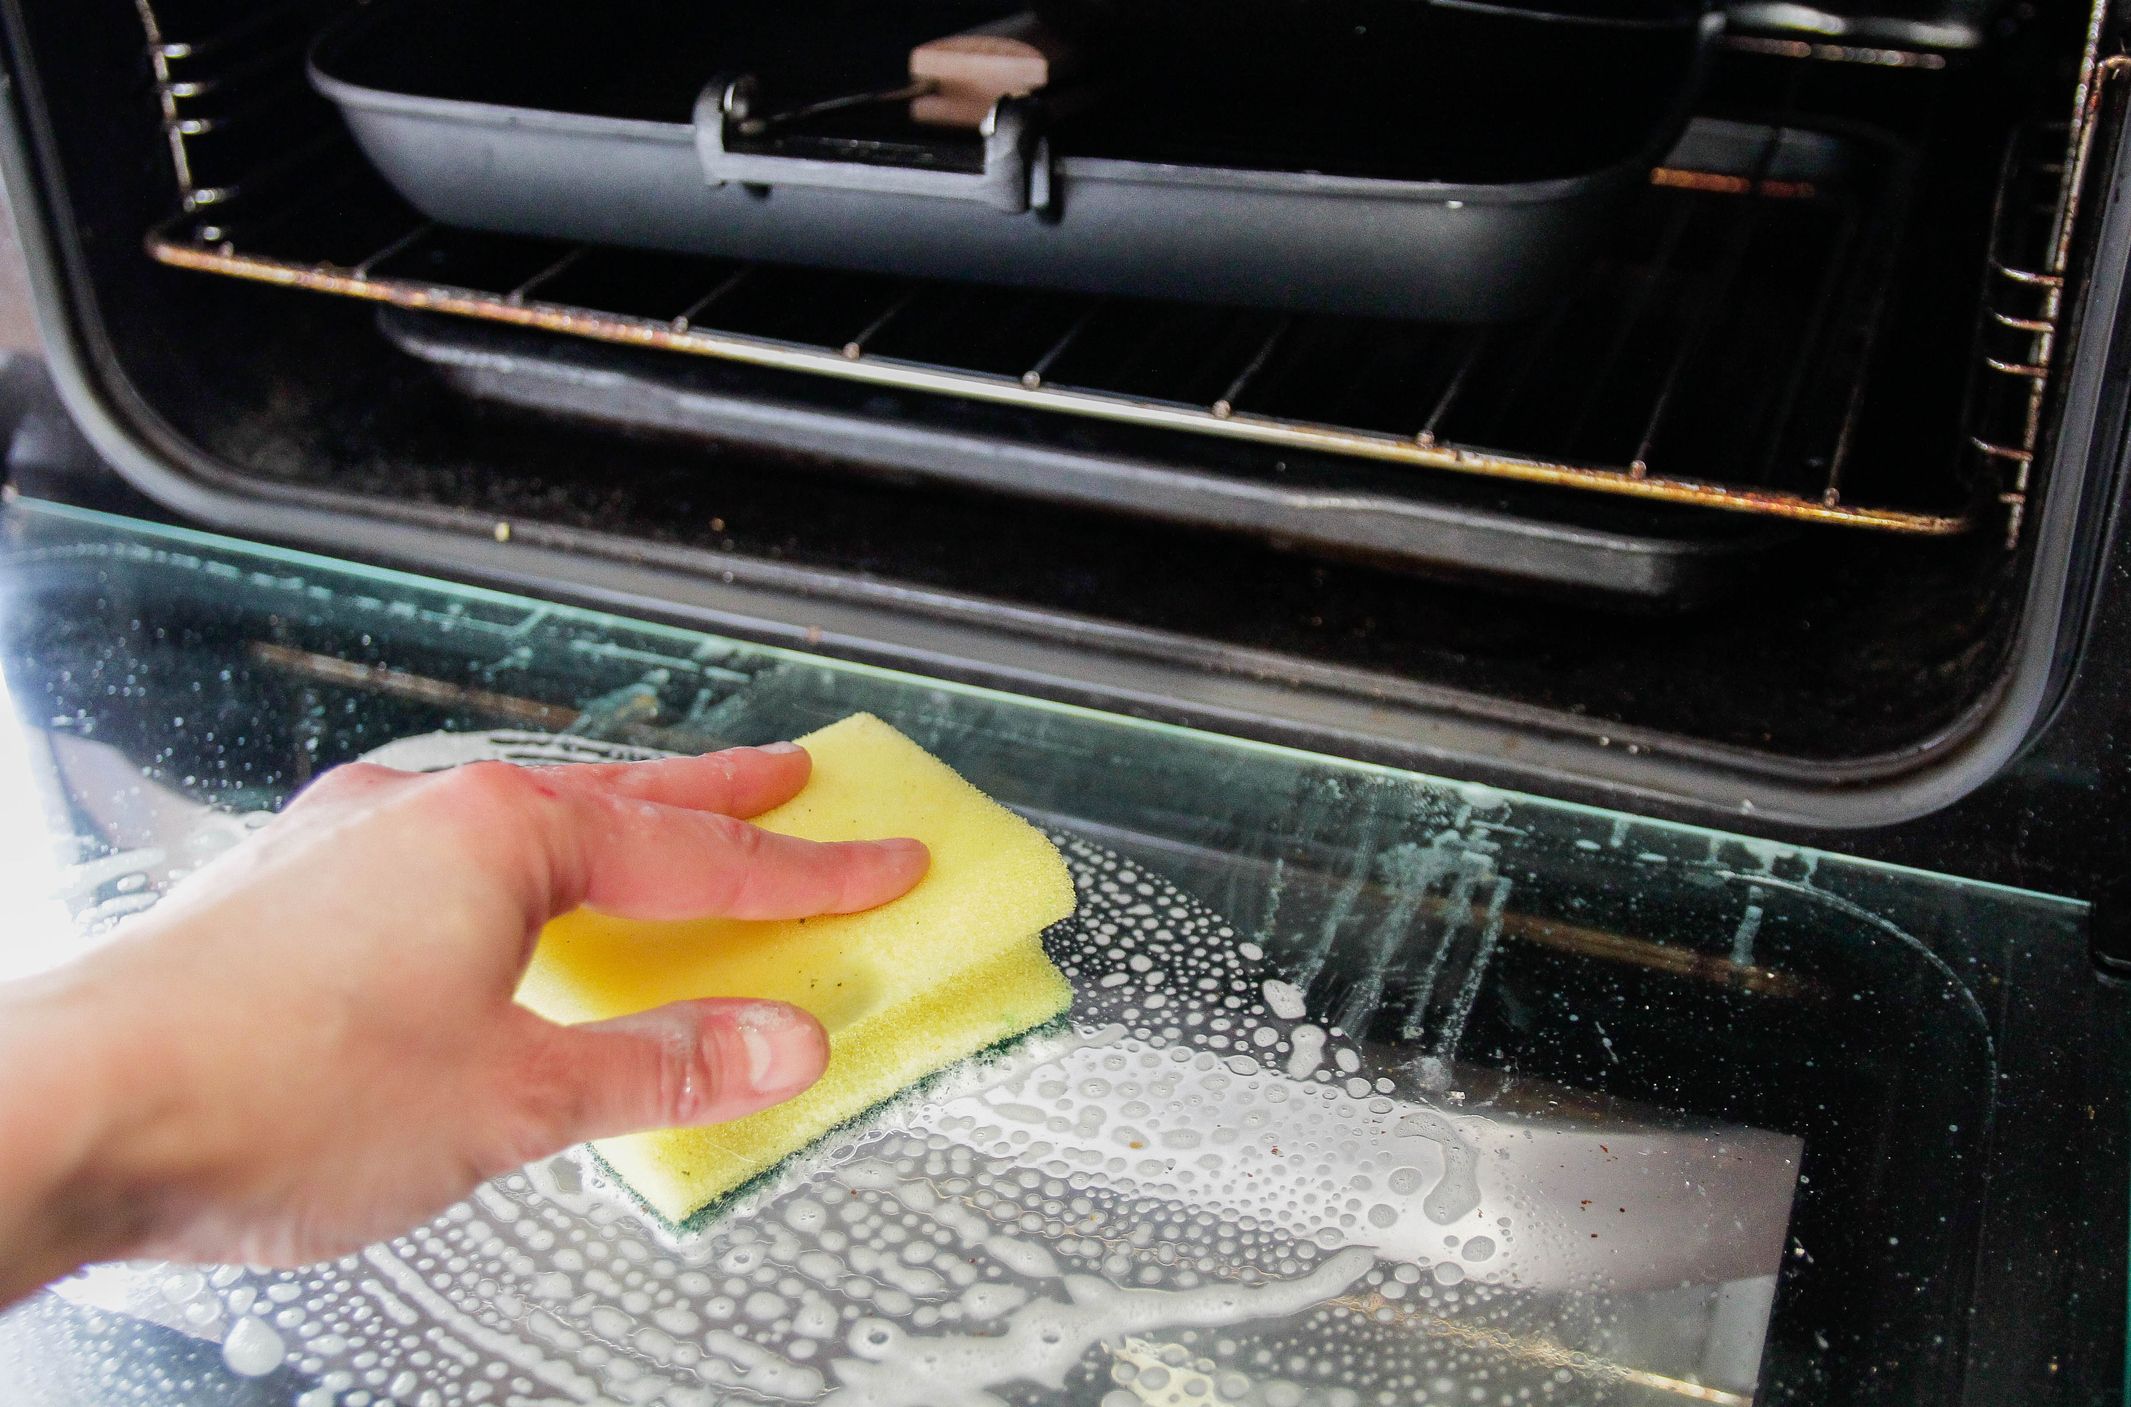
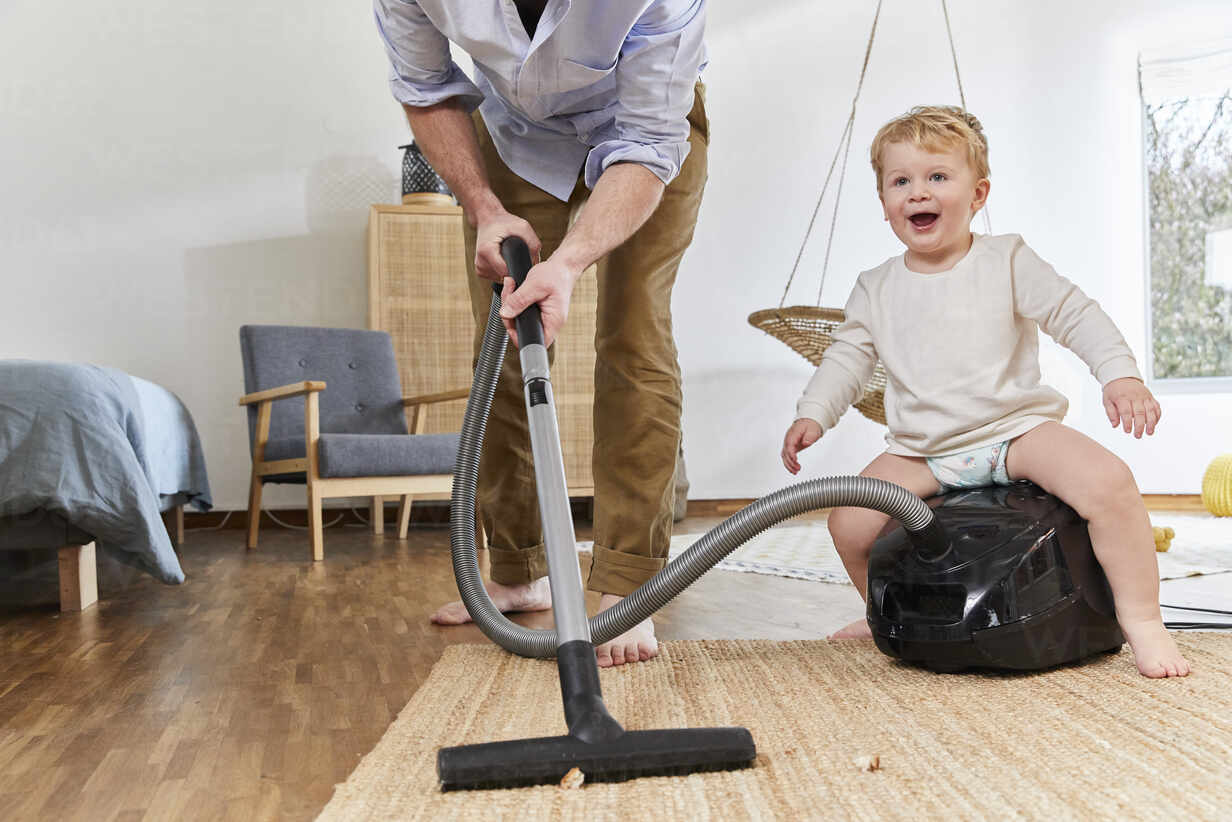
The thrill of a completed construction or renovation project can be exhilarating, but the aftermath of dust, debris, and clutter left behind can be quite overwhelming. Post-construction cleaning is a task that demands attention to detail and a strategic approach. In this blog, we’ll explore four essential tips that will help you navigate the process of cleaning up the post-construction mess and restore your space to its former glory.
1. Safety First: Prepare and Protect
Before you dive into the cleaning process, it’s crucial to prioritize safety. Construction sites can leave behind sharp objects, exposed nails, and potentially hazardous materials. Begin by equipping yourself with personal protective gear, including gloves, goggles, and a dust mask. Survey the area carefully to identify any potential risks and address them before you start cleaning.
Next, gather the necessary cleaning supplies. You’ll likely need heavy-duty garbage bags, brooms, dustpans, vacuum cleaners with strong suction and filters, microfiber cloths, all-purpose cleaners, and possibly specialized products for removing paint or adhesive residue. Having the right tools on hand will make the cleanup process more efficient and effective.
2. Start at the Top: Dust and Debris Removal
When tackling post-construction cleaning, always remember to work from top to bottom. Start by addressing dust and debris that may have settled on surfaces, light fixtures, and ceilings. Begin by gently dusting and wiping down light fixtures, ceiling fans, and any exposed beams. Use a vacuum cleaner with a nozzle attachment to reach high corners and crevices where dust may have accumulated.
Move downward to walls and windowsills, using a damp microfiber cloth to capture fine particles. Pay extra attention to areas around vents and air conditioning units, as dust tends to accumulate there. Don’t forget to clean air filters or replace them if necessary, as post-construction dust can clog filters quickly.
3. Tackle Surfaces and Floors: Scrub and Polish
After addressing the upper areas, shift your focus to surfaces and floors. Start with countertops, cabinets, and other flat surfaces. Depending on the material, you may need to use specialized cleaners or mild soap and water. Be cautious with abrasive cleaners that could damage delicate finishes. Gently scrub away any paint splatters, adhesive residue, or grime that construction activities may have left behind.
When it comes to floors, different materials require different approaches. Hardwood floors might need a gentle cleaning solution, while tiles could benefit from a more robust cleaner. Vacuum or sweep the floors first to remove loose dirt and debris. Then, mop the floors using a solution appropriate for the flooring material. Work methodically and ensure you rinse thoroughly to avoid any residue buildup.

4. Final Touches: Details Matter
As you approach the final stages of post-construction cleaning, remember that it’s the small details that truly make a difference. Check doorknobs, switches, and fixtures for smudges or residue. Wipe down baseboards and trim to give your space a polished look. If windows were covered during construction, don’t forget to clean them inside and out for a clear view.
Consider using an air purifier or opening windows to help freshen the air in your newly cleaned space. Fragrant diffusers or natural air fresheners can also contribute to a more pleasant atmosphere.
In conclusion, cleaning up after a construction or renovation project may seem like a daunting task, but with a methodical approach and the right tools, it’s entirely manageable. Prioritize safety, start from the top, work your way down, and pay attention to details. By following these four essential tips, you’ll be well on your way to transforming the post-construction mess into a clean, inviting, and beautiful space that you can enjoy for years to come.
Struggling to clean up after construction? Bettenca Cleaning in the GTA has you covered. Get in touch with them now!


