
4 Steps to Clean the Condenser of a Dryer
Contents
– Step 1: Remove the condenser from the dryer
– Step 2: Check the cleanliness of the condenser
– Step 3: Clean the condenser
– Step 4: Replace the condenser in the dryer
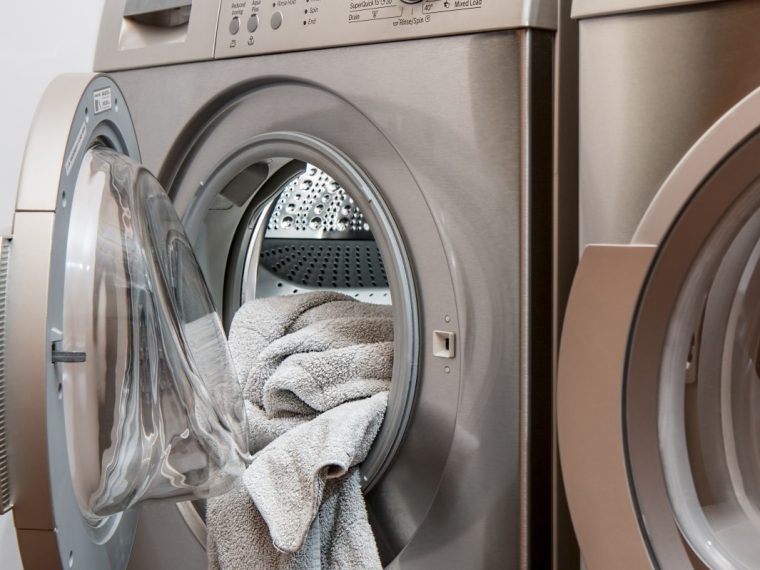
The condenser is an element present only in condensation dryers. Its role is to dehumidify the hot air coming from the drum.
It is composed of aluminum tubes cooled by the outside air. The cooling of this hot air causes the transformation of water vapor into condensed water.
This process’s success depends on the good circulation of hot air/cold air through the aluminum walls of the condenser.
This is why cleaning the tumble dryer condenser is important once or twice a month or after 5 to 7 drying cycles. Consult your appliance’s operating instructions to determine how often the manufacturer recommends cleaning.
If the condenser is clogged with lint, your dryer is less efficient, and drying time and electricity consumption are increased.
Here are the steps to follow in cleaning the condenser of a condensation dryer.
Caution: A dryer is a heating appliance that presents a fire hazard. Lint can be deposited on the (heating) elements, or it can clog the ventilation system and prevent the appliance from cooling down. Regular maintenance of your filters and condenser is therefore essential to avoid these risks!
1. Remove the condenser from the dryer
To clean the condenser of a tumble dryer, remove it according to the instructions of your tumble dryer. For models with a front opening, this is usually the procedure:
– Open the dryer door.
– Press the button in the middle, which activates the opening of the condenser compartment.
– Move the knobs in the direction indicated.
– Remove the condenser with the handle. Please keep it in its original position to prevent the water remaining in the condenser from leaking out.
Caution: Set the dryer switch to the “Off” position before handling, then unplug the dryer.
2. Check the cleanliness of the condenser
Look at the condenser by checking the spaces between the aluminum plates on the front and sides:
– There is no residue: put it back in its compartment (step 4).
– There is residue: clean the dryer’s condenser (step 3).
3. Clean the condenser
Once the condenser has been removed from its compartment, you can clean it as follows:
– Wipe the condenser with a soft cloth.
– Wipe the condenser with a soft cloth. Run it under the tap in your sink or under the shower head, respecting the rinsing direction indicated in the instruction manual of your dryer.
– Make sure that none of the condenser holes are blocked.
– Let the condenser dry while you clean the door. If you replace it immediately, the water will have difficulty evaporating, and your dryer will use too much water.
– Clean the door and the condenser compartment with a soft cloth.
– Wipe the condenser seals with a soft cloth or cleaning wipes.
Caution: Do not use abrasive products to clean a dryer, as they may cause damage. Also, using a brush may damage the seals.
4. Replace the condenser in the dryer
When you have finished cleaning the condenser, place it back in its compartment:
– Insert the condenser into the compartment until it stops.
– Lock the condenser by replacing the knobs in the direction indicated.
– Close the compartment door.
– Plug the dryer back in for its subsequent use.
Note: Position and lock the condenser correctly to ensure the condensation system is watertight.
Hope this post has provided you with the information you were looking for. Remember to jot down a few words in the comments below.