Wooden furniture adds warmth and elegance to any living space, but to maintain its beauty and longevity, it’s essential to know how to clean it properly. Whether you have antique heirlooms or modern pieces, this guide will walk you through the steps to ensure your wooden furniture stays in pristine condition for years to come.
Why Proper Cleaning Matters
Cleaning wooden furniture goes beyond aesthetics; it’s crucial for preserving the wood’s integrity. Dust, dirt, and grime can gradually wear down the finish and even penetrate the wood, leading to permanent damage. Proper cleaning not only enhances the appearance of your furniture but also safeguards its structural integrity.
Tools and Materials You’ll Need
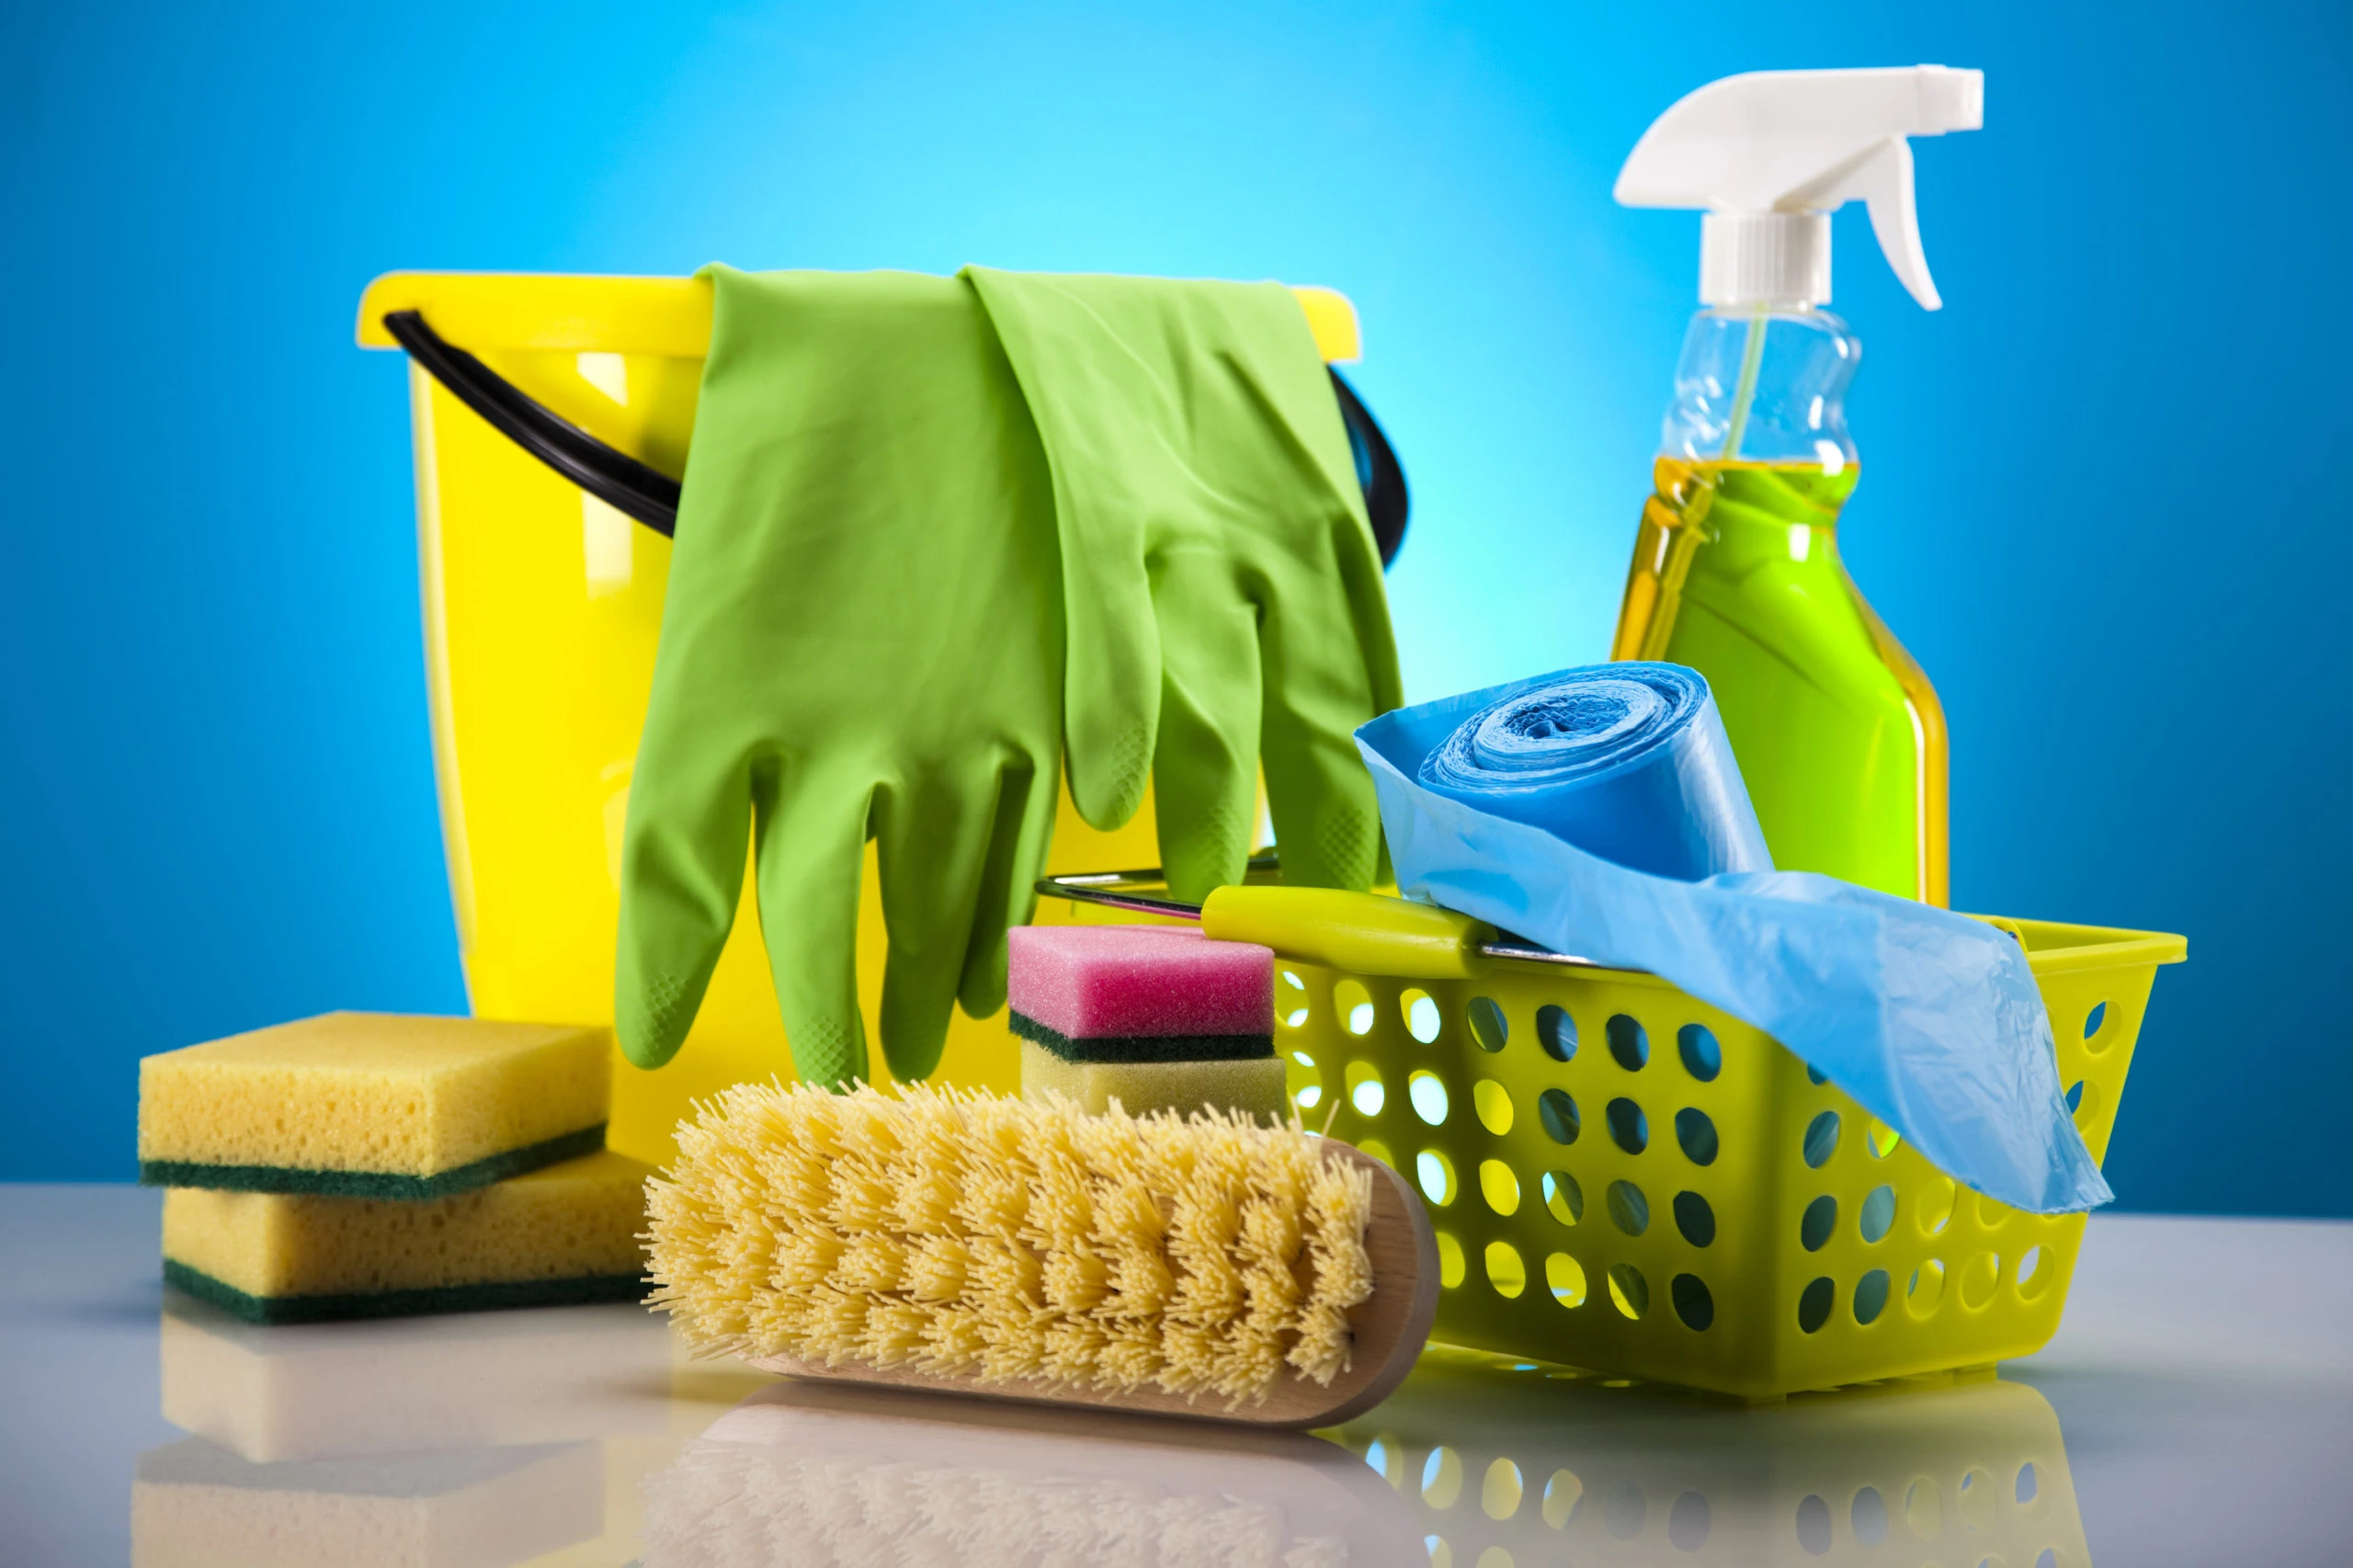
Before you begin cleaning your wooden furniture, gather the following tools and materials:
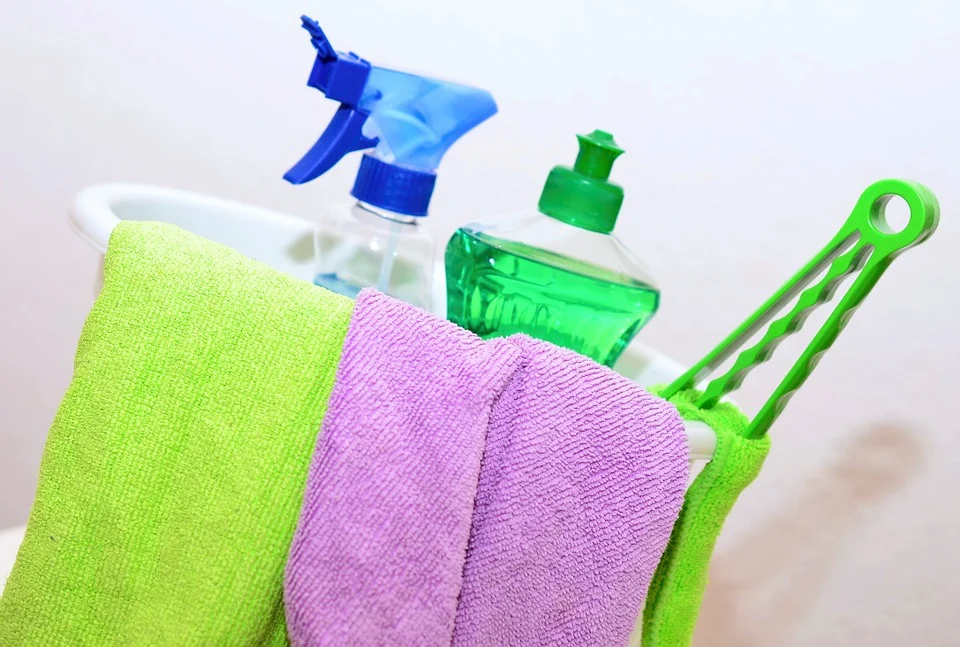
- Soft, lint-free cloths: These are ideal for wiping and buffing the furniture.
- Mild wood cleaner: Choose a pH-balanced, non-abrasive cleaner specifically designed for wooden surfaces. Alternatively, you can make your own solution by mixing equal parts water and white vinegar or using a few drops of mild dish soap in water.
- Distilled water: If using tap water, ensure it’s free from minerals to prevent streaks.
- Bucket: To mix your cleaning solution.
- Soft-bristle brush or toothbrush: For cleaning intricate or hard-to-reach areas.
- Microfiber or feather duster: For removing loose dust.
- Beeswax or furniture polish: For adding a protective layer and shine.
Now that you have your cleaning supplies ready, let’s dive into the step-by-step process for properly cleaning wooden furniture.
Step 1: Dusting
Begin by removing loose dust and debris from the surface of your wooden furniture. Use a microfiber or feather duster to gently dust all the nooks and crannies. Pay special attention to intricate carvings and corners where dust tends to accumulate.
Step 2: Preparing the Cleaning Solution
In a bucket, mix your chosen wood cleaner with distilled water according to the manufacturer’s instructions or the homemade solution recipe mentioned earlier. Avoid using excess water, as too much moisture can damage the wood’s finish.
Step 3: Testing in an Inconspicuous Area
Before applying the cleaning solution to the entire piece, perform a spot test in an inconspicuous area to ensure it won’t harm the finish or wood. Wait a few minutes to see if there is any adverse reaction.
Step 4: Cleaning the Furniture
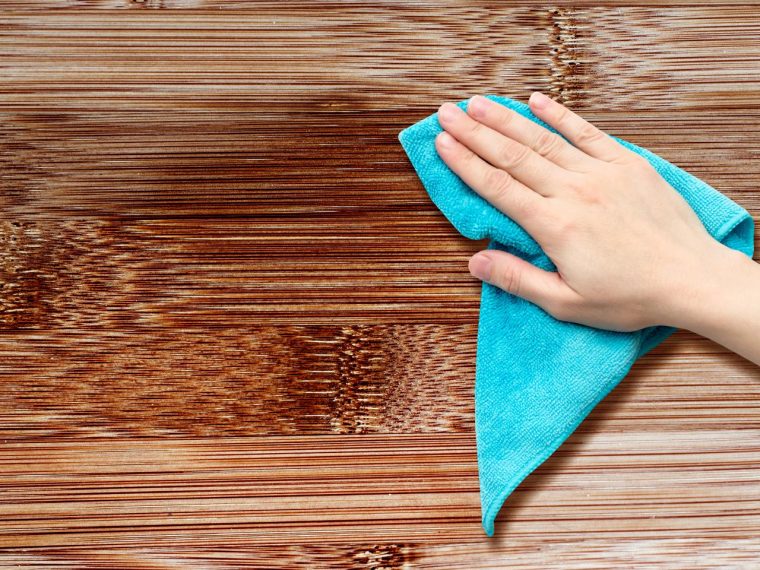
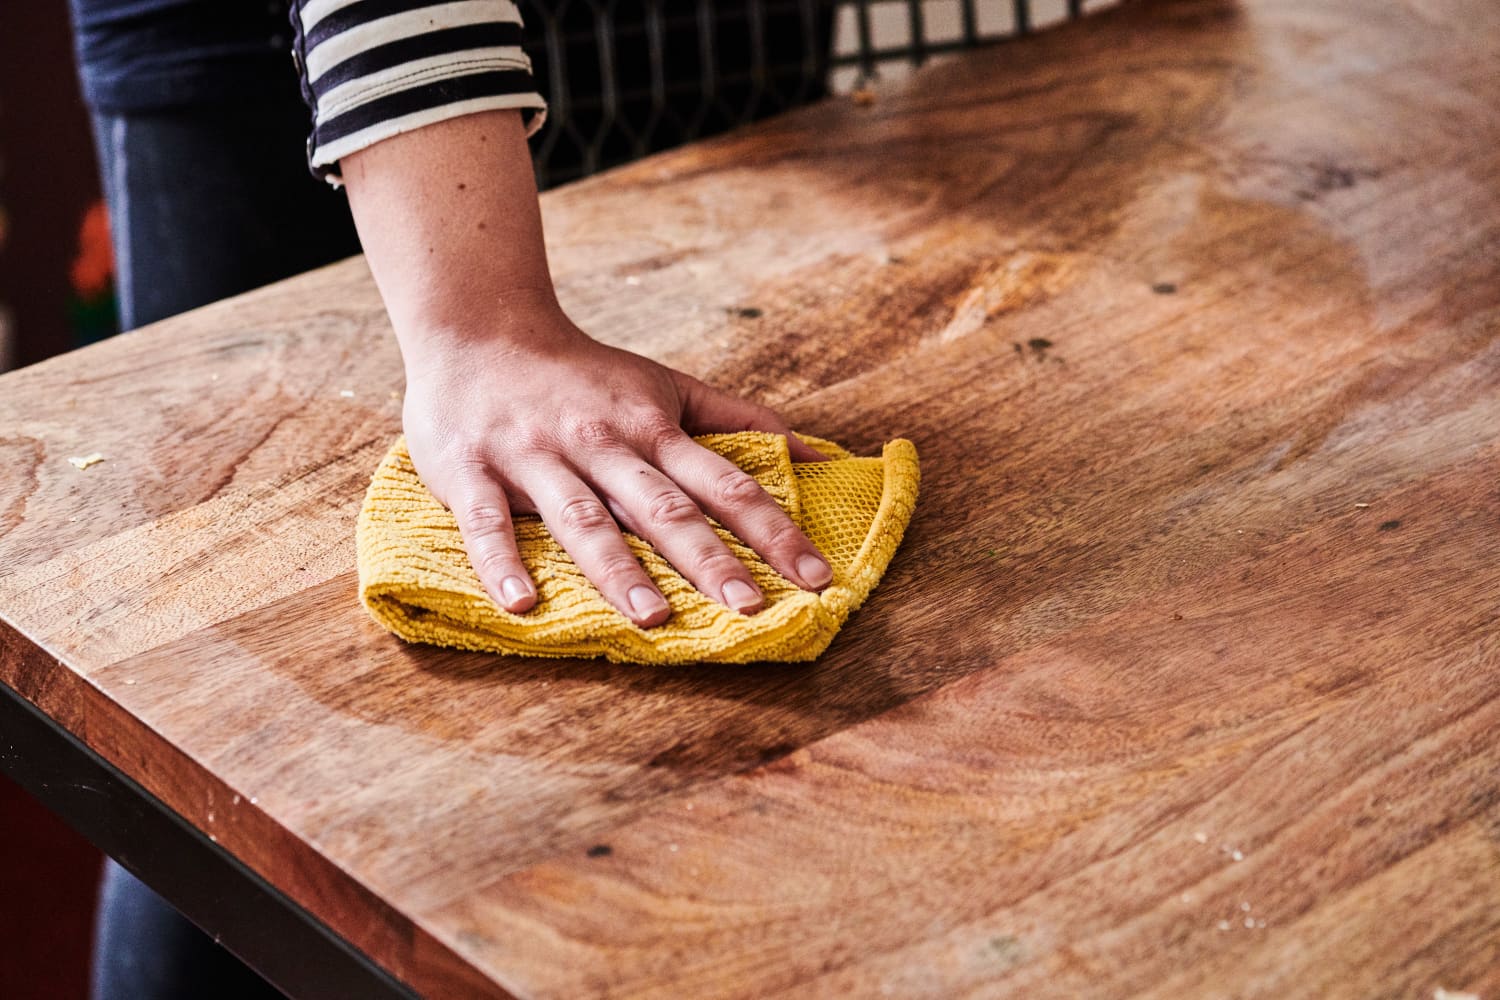
Dip a soft, lint-free cloth into the cleaning solution and wring it out thoroughly. The cloth should be damp, not wet. Wipe down the wooden surface, following the grain of the wood. Be gentle and avoid excessive pressure to prevent scratching.
For stubborn stains or built-up grime, use a soft-bristle brush or toothbrush to gently scrub the affected area. Always work with the grain of the wood and use light, circular motions.
Step 5: Rinsing and Drying
Once you’ve cleaned the furniture, dampen a clean cloth with distilled water and wipe down the entire piece to remove any cleaning residue. Immediately follow this with a dry, lint-free cloth to ensure the wood doesn’t stay wet for an extended period.
Step 6: Polishing and Protecting
To enhance the sheen and provide a protective layer, apply a small amount of beeswax or furniture polish to a clean cloth. Gently rub the polish onto the wooden surface, following the grain. Buff the surface with another clean, dry cloth until it shines.
Properly cleaning wooden furniture is essential for its long-term beauty and durability. By following the steps outlined in this guide and implementing good maintenance practices, you can enjoy the natural elegance of your wooden furniture for generations to come. Remember, a little care and attention go a long way in preserving the timeless charm of these cherished pieces.

