Clean Your Keyboard and Keep It Clean!
Contents
– Step 1: Unplug your keyboard
– Step 2: Do a first rough cleaning
– Step 3: Clean the keys
– Step 4: Clean the inside of the keyboard
– Step 5: Finish Cleaning Your Keyboard
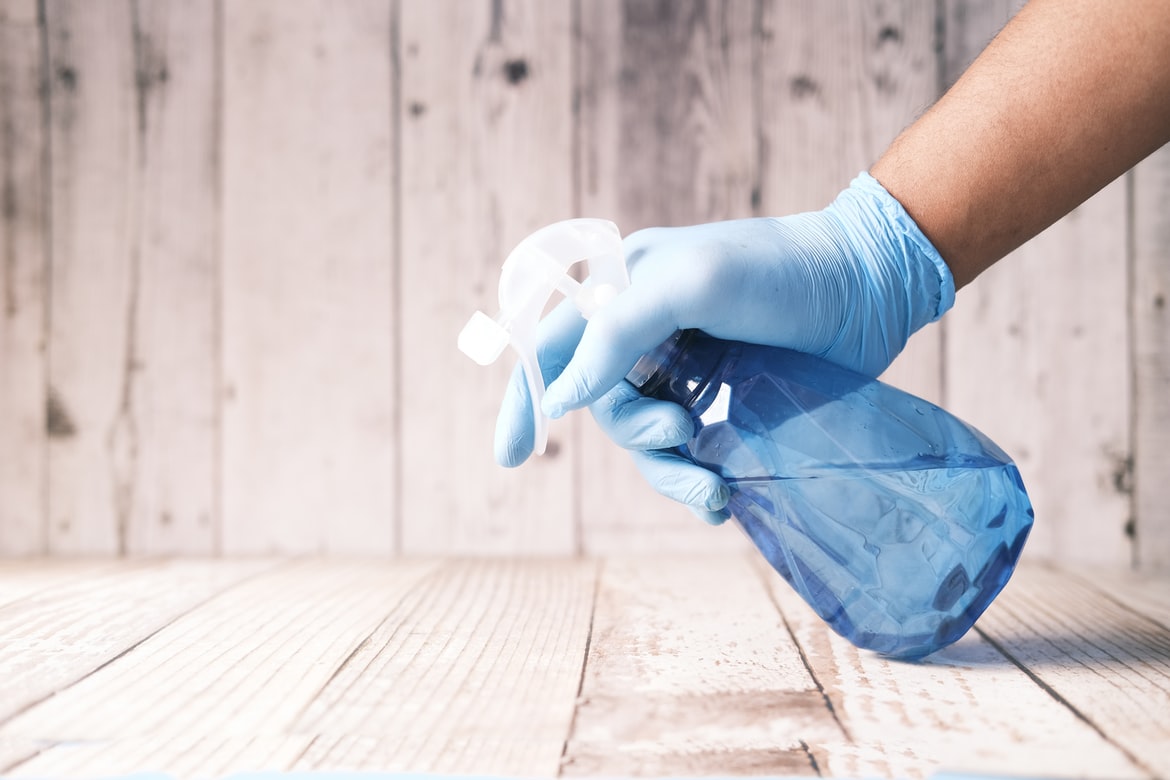
Even if you take good care of it, your computer keyboard will get dirty over a day. This is especially noticeable if the keys of your keyboard are beige and show gray or even black marks. And that’s just the tip of the iceberg because a lot of things can get lodged under your keyboard keys.
Here’s how to effectively clean and care for your keyboard.
1. Unplug your keyboard
The first step is simple:
– Unplug the keyboard from your computer.
– Move to a ventilated area to clean your keyboard, ideally outside, so that the dust and other debris from your keyboard doesn’t stay with you.
– If you can’t get outside, work in a large bowl or, at worst, place sheets of newspaper in your work area.
Note: If the keyboard you are cleaning is a laptop, you obviously can’t unplug it. However, turn off your computer for safety.
2. Do a first rough cleaning
– Now that you’re settled in, do a primary cleaning: turn your keyboard over and shake it to get the most significant dust off. You can do the same thing for a laptop, but be careful when handling the whole thing.
– Once this rough cleaning is done, put your keyboard (or your computer) back down and, with a hairdryer, blow under the keys without getting too close so as not to overheat the keys. If it has a position or a cold air function, use it.
– If you don’t have a hairdryer, you can use a can of compressed air, an airbrush, or even a compressor to produce a stream of air that you can direct.
– If you don’t have any of these air-blowing items, use self-adhesive paper (small square colored paper that sticks) or tape by inserting them between the keys. This way, dust that did not come out with the turner can be caught and collected.
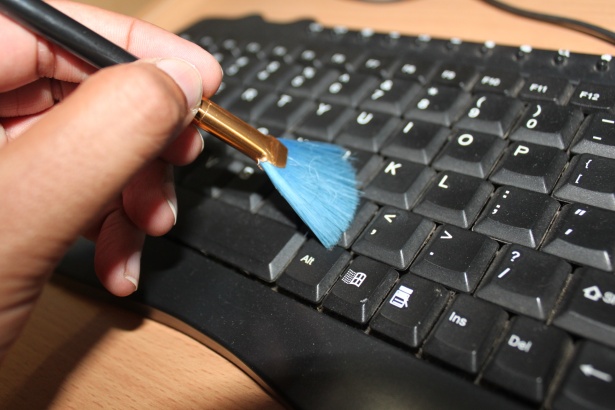
3. Clean the keys

This is the longest and most tedious step: the keys. Indeed, to do a proper cleaning, you must do it one by one:
– Use cotton swabs soaked in white vinegar without letting them run.
– Rub each touch on top and on the sides to clean them.
– When one side of the swab is too dirty, switch sides. Then, switch to another swab.
– For the area around your keyboard, also use cotton swabs or, if the parts are large, use a cloth or paper towel. Do not pour the white vinegar on the keyboard, but first on the cloth or paper towel.
4. Clean the inside of the keyboard
Caution: With some keyboards, it is possible to remove the keys to access the inner part of the keyboard. Check your keyboard’s manual to see if this is possible with your keyboard. If you don’t have the information or are unsure, don’t do it because of breakage risk.
To lift and unclip the keys:
– Gently lift the key with a flat ruler or flat screwdriver until it unclips.
– Repeat for each key.
Tip: You can take a picture of your keyboard to remember the positions of each key, especially if you have a special keyboard with unique keys.
– After cleaning, reposition each key by pressing down hard on it, without knocking, until you hear it click into place.
5. Finish cleaning your keyboard
To finish cleaning your keyboard:
– Clean the cable (if it has one) with a cloth or paper towel and white vinegar.
– Do the same for the underside of your keyboard, especially the rubber or silicone pads, so that they always prevent your keyboard from slipping.
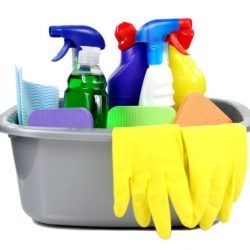
Materials needed to clean a keyboard.
| Cloth |
| Cotton swab |
| Absorbent paper |
| Newspaper |
| Cleaning products |
| Ruler |
| Adhesive tape |
| Hairdryer |
| White vinegar |