2 Steps to Clean the Nozzles of Your Printer
Contents
– Step 1: Determine if the print nozzles need to be cleaned
– Step 2: Clean your printer’s print nozzles
Try cleaning before you throw away your printer if you notice any imperfections in your printouts, especially in terms of sharp edges and colors (whether photos or text). You can clean it, not only the printheads but also the print nozzles. Physical cleaning isn’t the first thing you should do: you can ask your printer’s companion software to help.
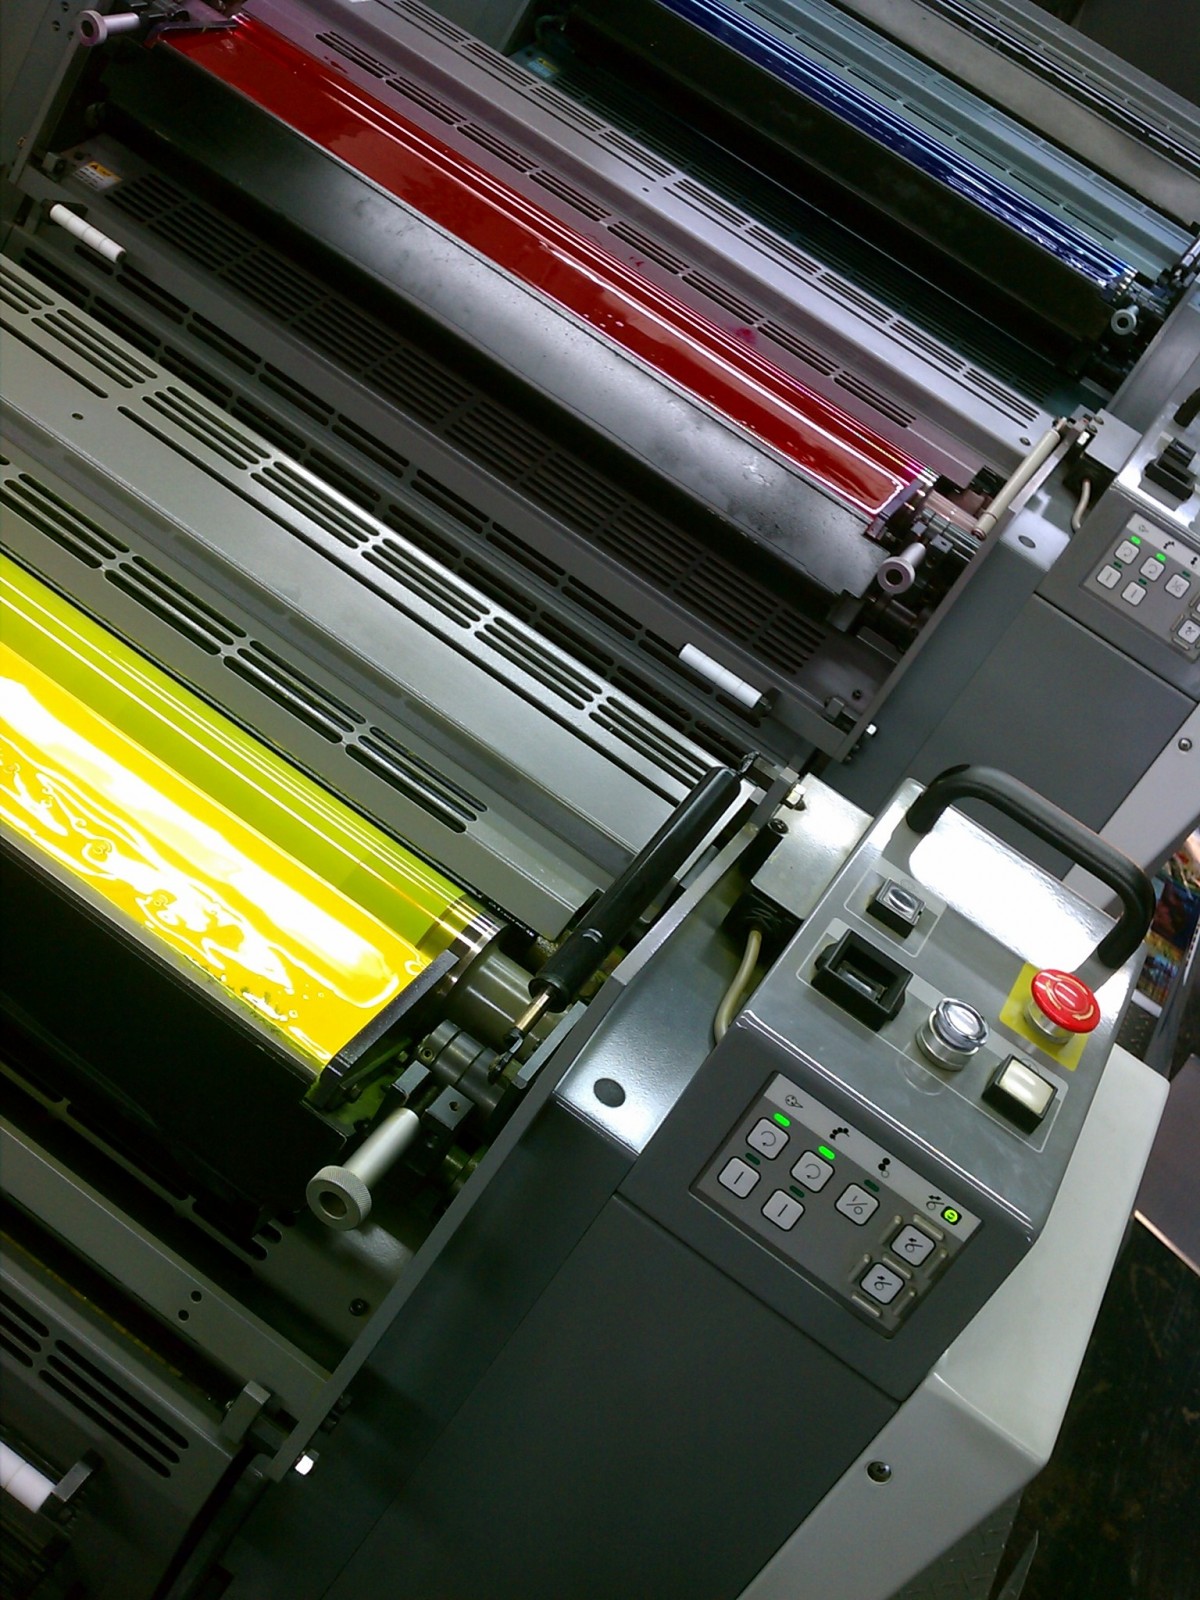
The print nozzles are small elements comparable to tattoo needles, through which the ink droplets are projected onto the paper. They are gathered in the printer heads (which must also be cleaned and aligned regularly). The printer heads are composed of many nozzles, sometimes 256 in number. Each of them produces a tiny droplet of ink on the paper.
It is precisely these nozzles that can become blocked and cause printing problems: dirt, dust, dried ink particles, etc.
Here is how to clean the nozzles of a printer.
1. Determine if the print nozzles need to be cleaned
Several signs should alert you to the cleanliness of your printer’s print nozzles. It is time to clean the print nozzles if, when you print documents:
– some characters are incomplete;
– there are light streaks or white lines on the graphics or text;
– the print is too dark or smudged overall;
– colors are dull or differ markedly from those on the screen.
2. Clean your printer’s nozzles
It may seem strange at first, but the first step in cleaning a printer is to ask the software that manages it to clean it. The software will print test pages of colored strips to clean the print heads. Expressing the ink in a rather intense way will clean the printing nozzles.
For this operation, you must use the software utility of your printer:
– If you do not have it installed, use the installation CD supplied with your printer or download it from the Web: to do this, enter the name of the precise model and brand of your printer in a search engine and go to the site of its manufacturer. A special icon for your printer will appear in your computer’s taskbar. Right-click on this printer and launch the utility.
– Make sure that an A4 sheet of paper is loaded in the feed tray of your printer.
– In the utility software associated with your printer, go to the “Maintenance” menu, then click on the option generally named “Clean the print heads”: a test page is printed, and ink is sprayed into the nozzles to unclog them.
Good to know: some printers allow you to launch the operation from the printer’s control panel.
– Print a document again to check if the print quality has improved. You can repeat the operation twice.
If the print defect is more about the unevenness of the vertical lines when you print text, it is more likely to be a print head alignment problem. In this case, perform this operation in addition to cleaning the nozzles. If, despite everything, the imperfections remain, proceed with the physical cleaning of your printer.
Hope this helps! Remember to write your comments below.
Read more:
– The 5 Best High-Pressure Cleaners;
– What Is High-Pressure Cleaning and How to Choose Your High-Pressure Cleaner.
– Easy Ways to Tackle the Great Spring Cleaning;
– How Do You Organise the End of Construction Site Cleaning;
– Why Choose High-Pressure Facade Cleaning;
– Understanding How a Pressure Washer Works;
3 Comments
[…] 2 Steps to Clean the Nozzles of Your Printer. […]
[…] 2 Steps to Clean the Nozzles of Your Printer; […]
[…] 2 Steps to Clean the Nozzles of Your Printer; […]