Cleaning your fan is essential. Whether you use your fan all summer or just got it out of the attic, cleaning it before and after use is necessary. But how do you clean a fan? A quick wipe is often not enough. If too much dust accumulates in the fan, it can cause permanent damage. That’s why we use a step-by-step plan to help you clean your fan in no time.
Step-By-Step Plan for Fan Cleaning
Cleaning a fan is relatively easy. If you don’t clean the fan before using it, the dust accumulating on it will simply spread throughout your home. This can result in allergic reactions, dirt, and ventilation fan problems. Depending on how the fan is used, it should be cleaned every few weeks. How to clean table and standing fans? Here are the steps to follow:
Step 1: Remove the Plug
It is incredible how many people forget to unplug the plug before cleaning. Therefore, we emphasize this step to avoid damaging the fan during cleaning.
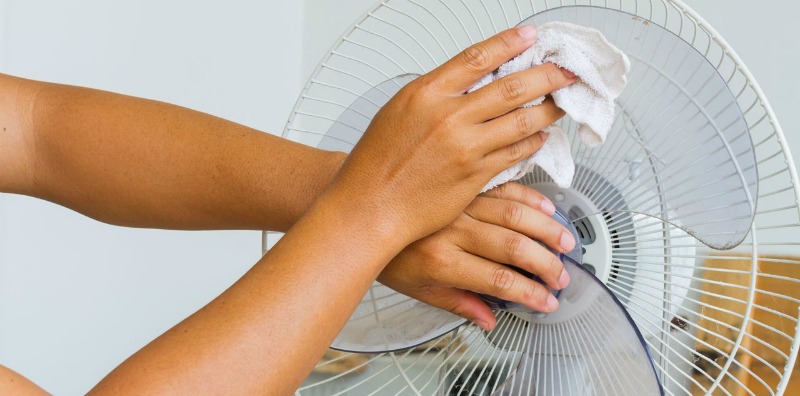
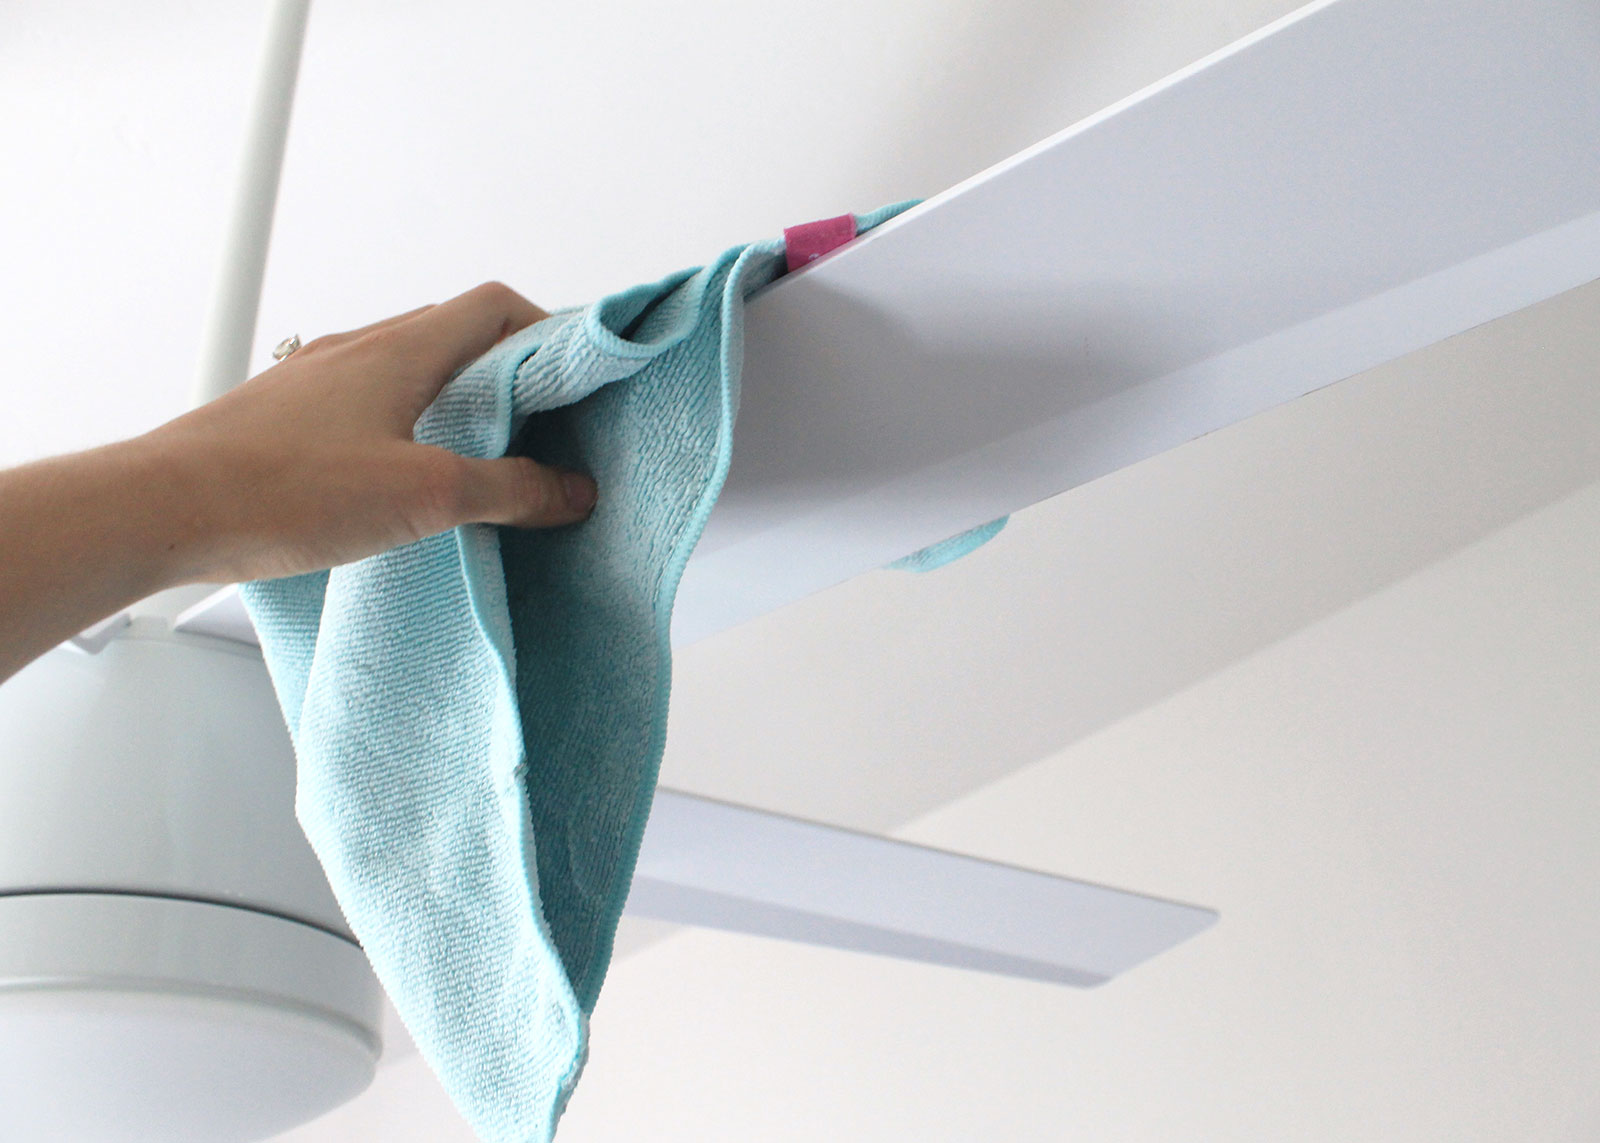
Step 2: Remove Most Dust With a Damp Cloth or Vacuum Cleaner
The cleaning procedure differs slightly depending on the type of fan. For example, tower fans are more complicated to clean than ceiling fans.
Ceiling fans can be cleaned gently with a damp cloth. This is usually sufficient. With tower fans, dust hides more deeply. Use a vacuum cleaner and a damp cloth to remove most of the dust before moving on to the next step.
Outside, the floor can become very dusty. The worst dust should be removed first with a vacuum cleaner.
Step 3: Disassemble the Fan
Next, disassemble the fan. The disassembly method varies slightly from fan to fan. If one fan is a snap-on type, the other has several screws. Refer to the fan manual for the exact disassembly procedure.
Step 4: Cleaning Fan Blades and Grilles
Fan blades and grilles can be cleaned with a sponge or damp cloth. Are you using the fan in a greasy place, such as the kitchen? Then use a gentle cleaning agent to remove the oil. This will prevent dust from clogging the fan.
Step 5: Thorough Cleaning (Optional)
If the grill is very dirty or greasy, clean it with an old toothbrush. You can also remove the grille completely and rinse it with water using a shower or garden hose. Fans that have not been used for a long time should also be cleaned thoroughly.
Step 6: Dry Everything
Wait for everything to dry before assembling the fan. This is an important step that should never be skipped. Reassembling or plugging in the fan can cause damage if the fan parts are still damp. It is a good idea to allow all parts of the ventilator to dry for at least one day.
Step 7: Reassemble the Ventilator
After the ventilator components are thoroughly dried, reassemble them. When reassembling the fan, it is best to proceed slowly and not rush. Forcibly installing the elements may cause permanent damage to the fan. Then connect the fan to the power socket and ensure everything goes well.
Once you’re done cleaning the fan, here are some tips to make it even more useful:
- Place it in front of an open window. The device will then blow a cool breeze, especially in the evening.
- Place a bottle of ice water in front of the fan. It will provide fresh air just like an air conditioner.
- Placing the bottle behind the fan will also help cool the unit and keep the ice from melting.
Cleaning fans is not fun, but it is necessary. Before you know it, more and more dust accumulates in the fan and it spreads throughout the room. Failure to perform proper maintenance will also shorten the life of the fan.
Do you have more tips? Share it with us in the comments below!